How to: Set up Microsoft Endpoint Privilege Management

Since Microsoft Endpoint Privilege Management now is General Available, I’ve decided to write this blogpost about how to activate the 90-day trial. Also, this guide can help you to enable EPM on your devices and set-up the first rules.
Quick link:
https://intune.microsoft.com/#view/Microsoft_Intune_Workflows/SecurityManagementMenu/~/epm
Prerequisites:
License: This capability is available as an Intune add-on. For more information, see Use Intune Suite add-on capabilities.
Minimal client requirements:
- Windows 11, version 22H2 with KB5022913.
- February 28, 2023— KB5022913 (OS Build 22621.1344) Preview
Co-Management impact:
There is no Co-Management slider necessary to enable EPM, EPM Policies apply regardless the management state.
How to enable Endpoint Privilege Management in the Microsoft Intune Tenant trial:
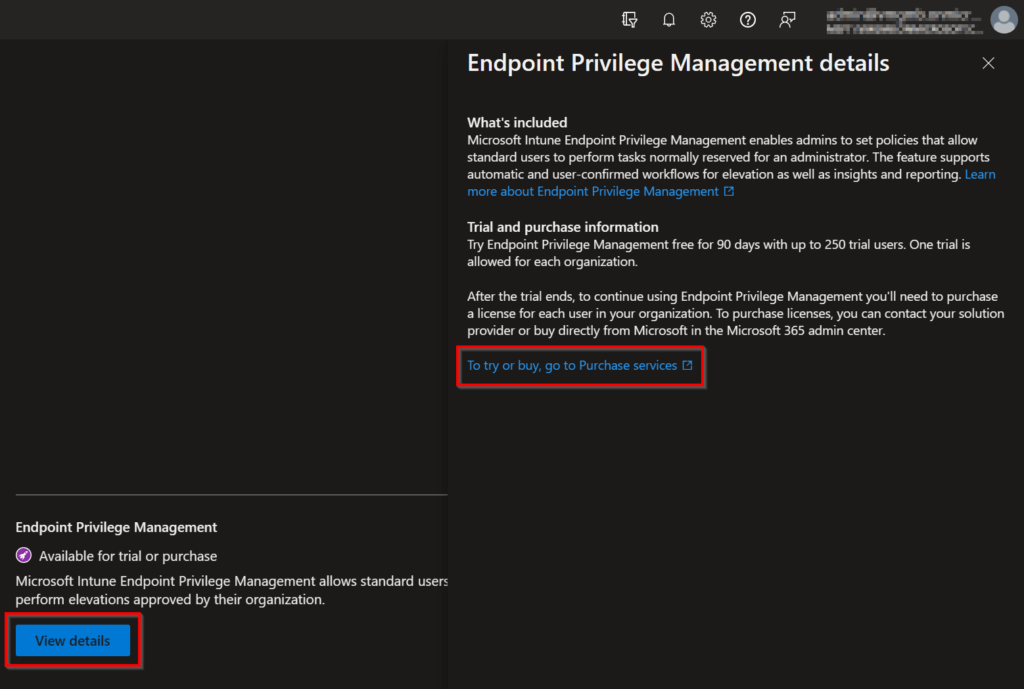
In the Microsoft Intune Portal, go to Tenant Administration followed by Intune add-ons.
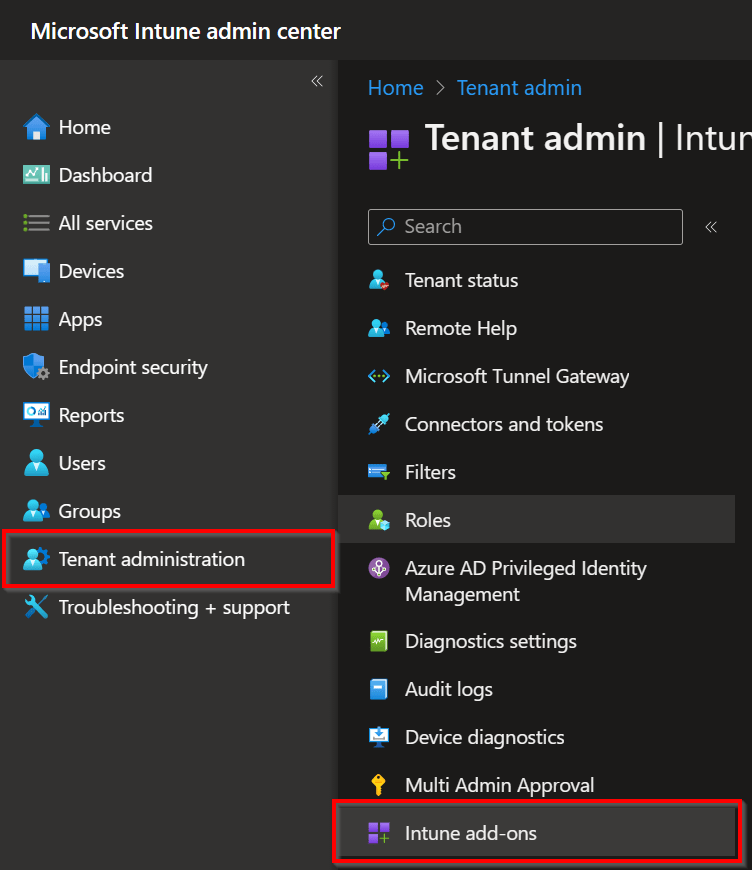
Choose View details followed by To try or buy, go to Purchase services. This will redirect you to the Microsoft 365 admin center.
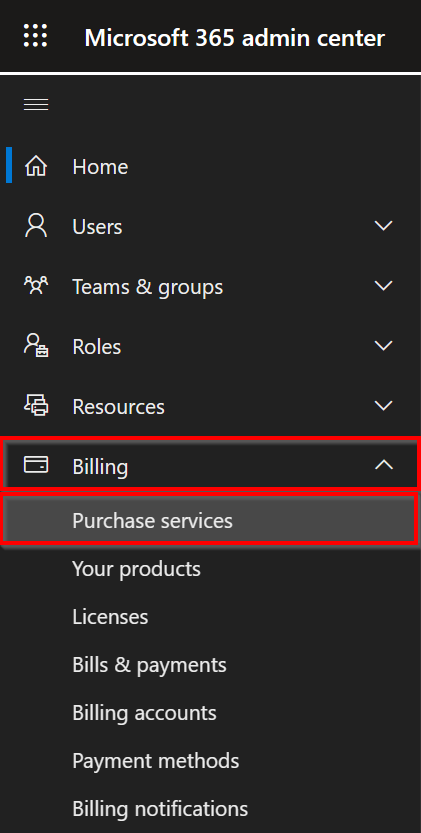
Go to the Billing section and choose Purchase services.
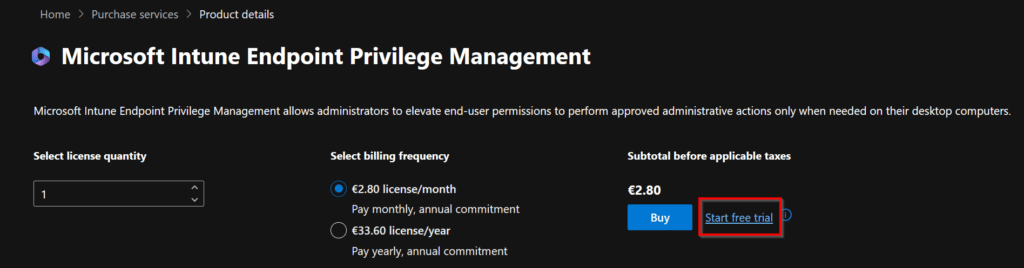
Go to Other services, look for Microsoft Intune Endpoint Privilege Management and click on Details.

Click on Start free trial.
Click on Try now.
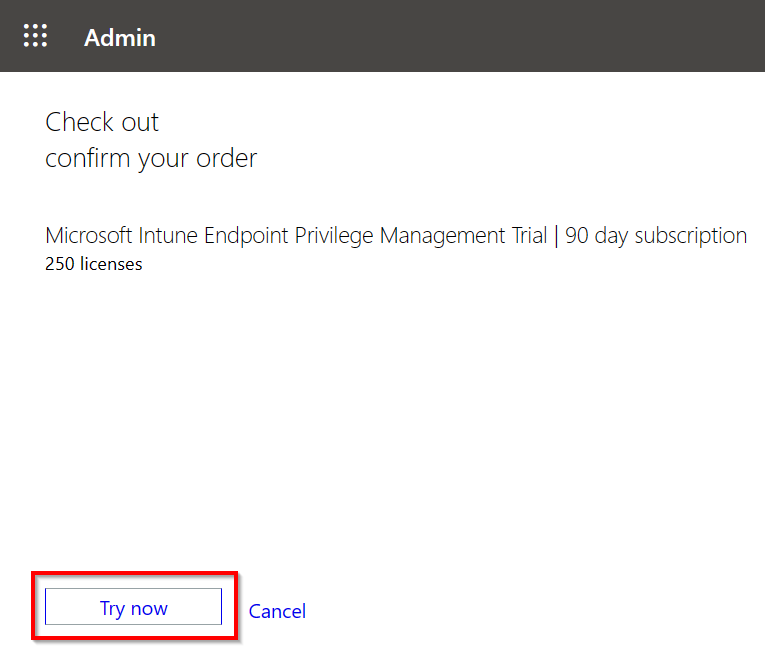
Followed by Continue.
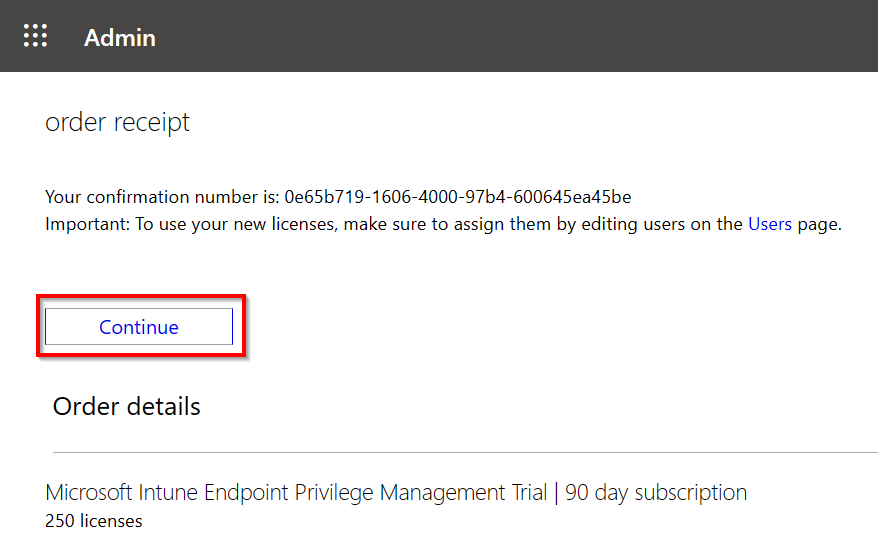
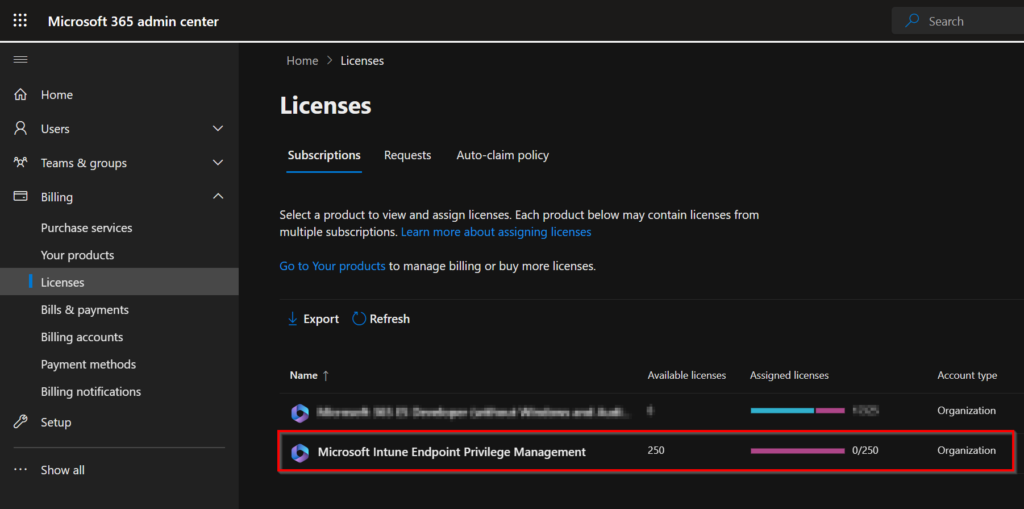
In the Licensing view you’re now able to see your 90-day Microsoft Intune Endpoint Privilege Management trial licenses!
How to enable Endpoint Privilege Management on the client side (Windows 11 22H2):
- Ensure the client device operating system is minimal Windows 11 OS Build 22621.1344.
- Create an Elevation settings policy.
- Deploy the Elevation settings policy to the client computer(s).
- See the steps in chapter 5.
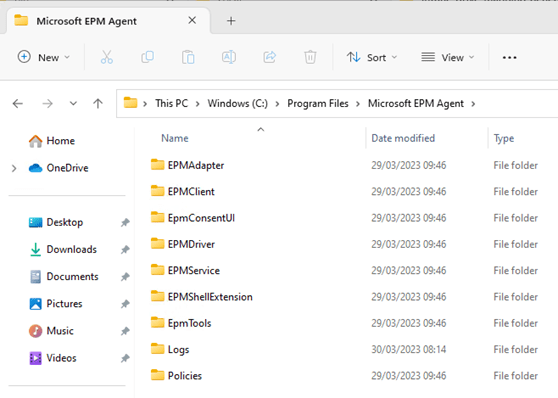
- Within 30 minutes the Microsoft EPM Agent will be installed via the Intune Management Extension.
- The Microsoft EPM Agent is installed on the following location: C:\Program Files\Microsoft EPM Agent.
Create a “Elevation settings” policy
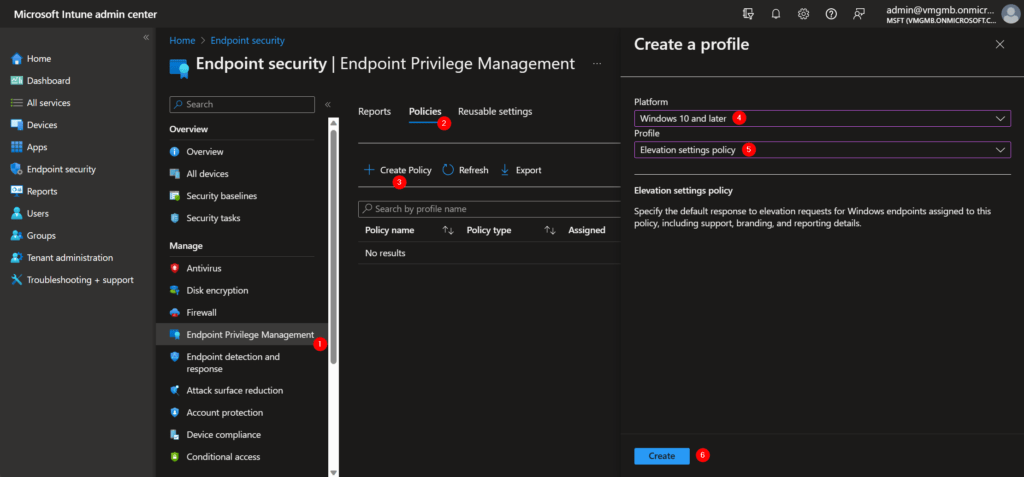
1. In the Microsoft Intune Portal choose “Endpoint Privilege Management”.
2. Policies.
3. Create Policy.
4. Platform: Windows 10 and later.
5. Profile: Elevation settings policy.
6. Create.
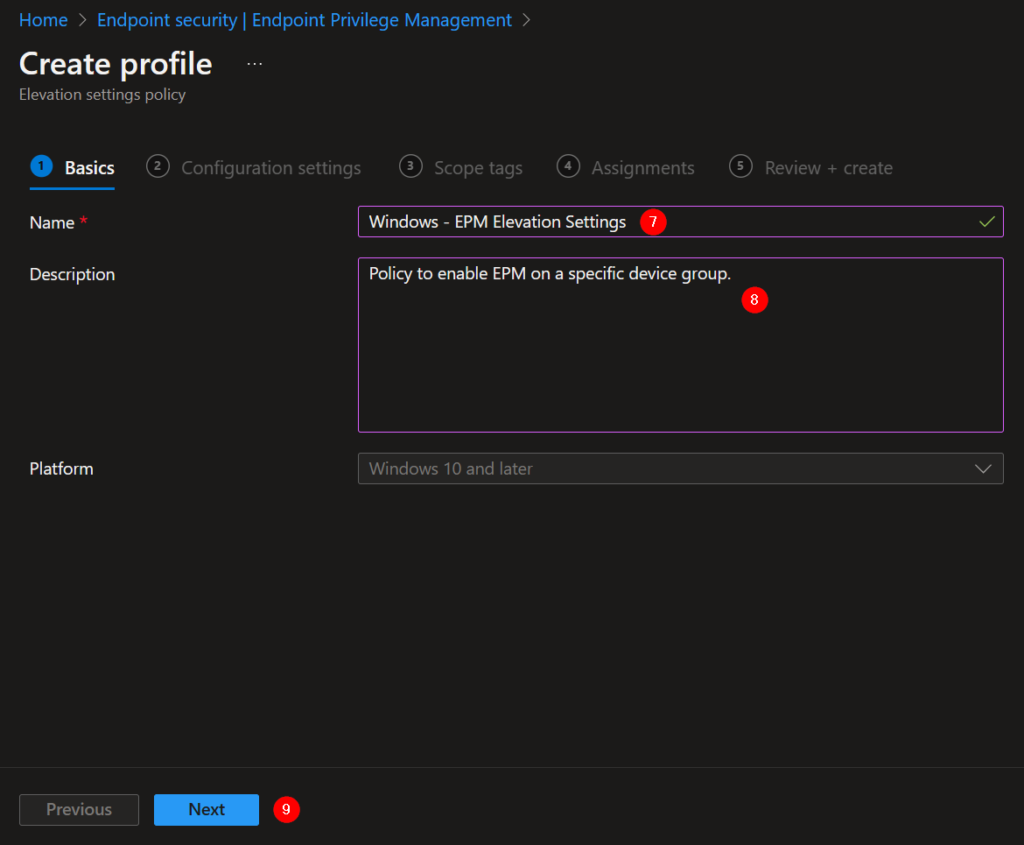
7. Give the Elevation Settings policy a proper name.
8. Describe what the policy does
9. Next.
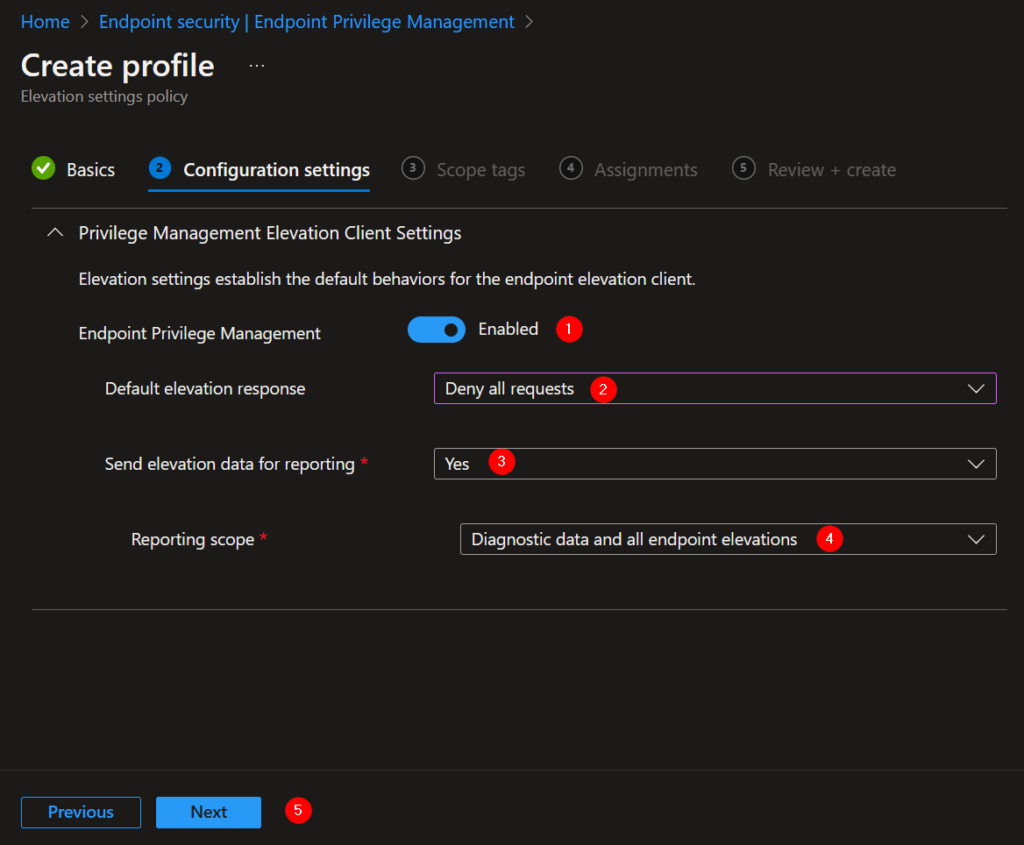
1. Enable Endpoint Privilege Management.
2. Default elevation response: Deny all requests.
3. Send elevation data for reporting: Yes.
4. Reporting scope: Diagnostic data and all endpoint elevations (default).
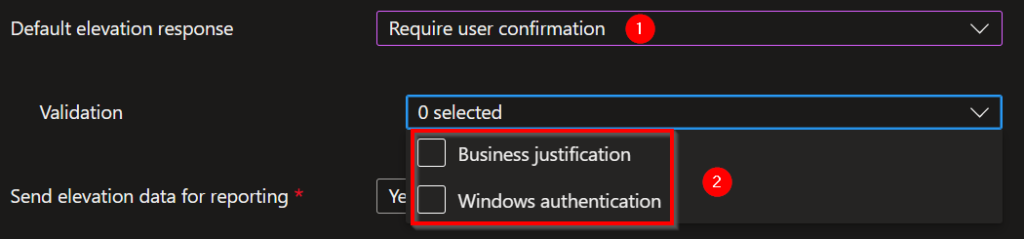
1. If you choose: Default elevation response: Require user configuration.
2. Extra settings for the Default elevation response: Require user confirmation:
- Business justification (gives user an input field to give a business justification why the elevation is required).
- Windows authentication (askes the user for an extra authentication, to create awareness).
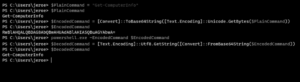
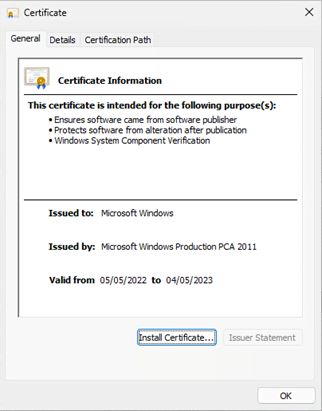
Get the signers certificate or file hash of the executable to be elevated
First things first, you are going to extract the publisher certificate which is used to sign the software. If this is not available, you can retrieve the file hash. We are going to use these in the Elevation Rules later on.
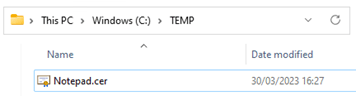
Extract the publisher certificate which is used for signing the executable
For example:

Output:
Get the file hash of the executable that must start elevated
For example:

Output:

Create an elevation rule
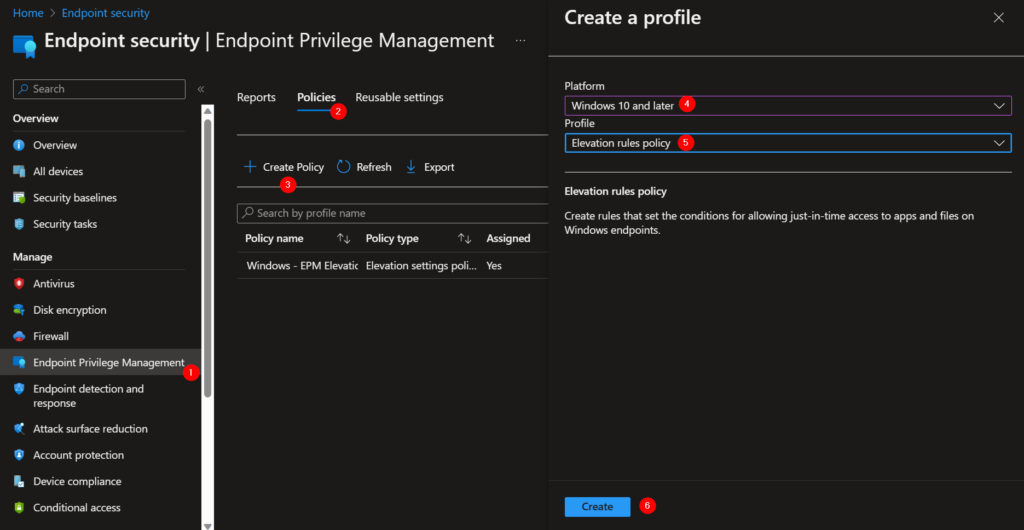
1. In the Microsoft Intune Portal choose “Endpoint Privilege Management”.
2. Policies.
3. Create Policy.
4. Platform: Windows 10 and later.
5. Profile: Elevation rules policy.
6. Create.
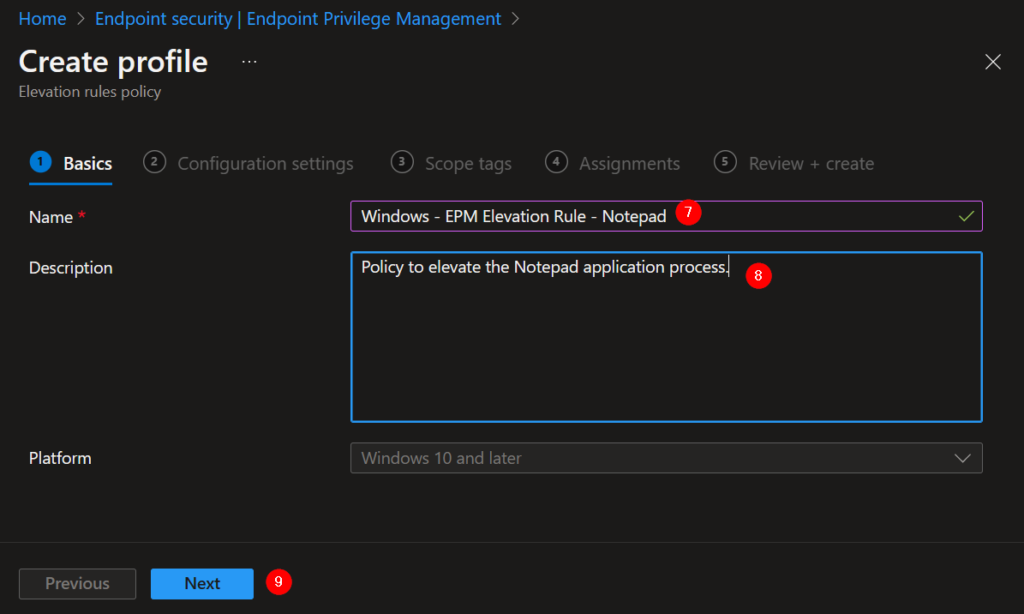
7. Give the Elevation Rule policy a proper name.
8. Describe what the policy does.
9. Next.
7. Give the Elevation Rule policy a proper name.
8. Describe what the policy does.
9. Next.
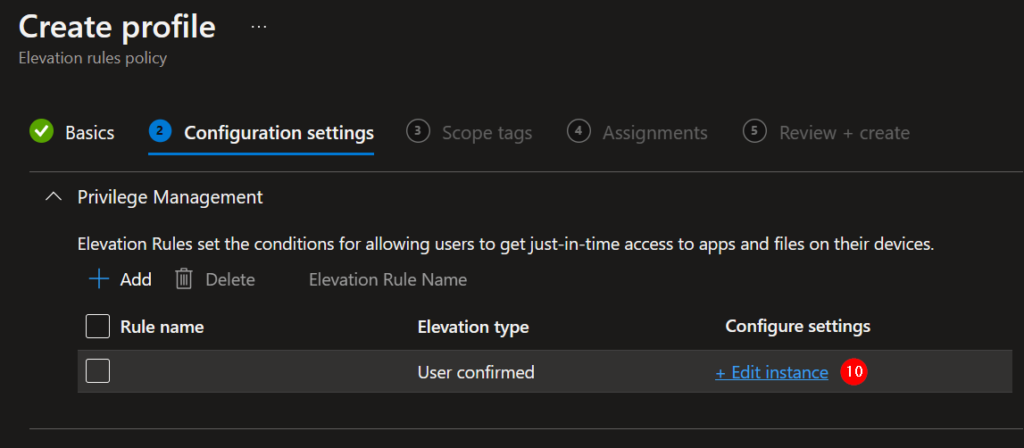
10. To edit the first rule, click on Edit instance (it is possible to add multiple elevation rules in one policy).
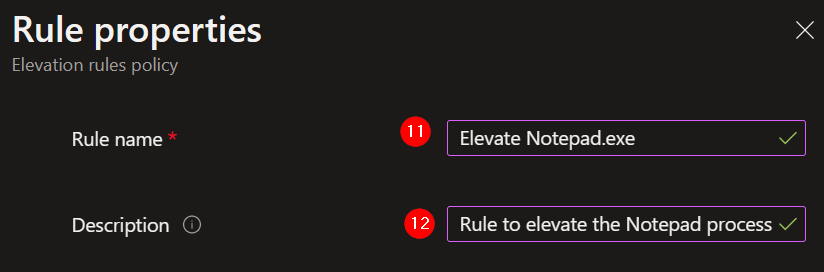
10. Give the rule a proper name.
11. Describe the elevation rule.
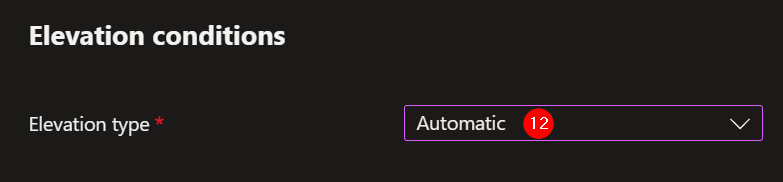
12. Elevation type: Automatic. This is used for purposes when you want to let the user elevate the process in any case without confirmation. The executable is always elevated, also when it is started via a start menu shortcut or other kind of shortcut.
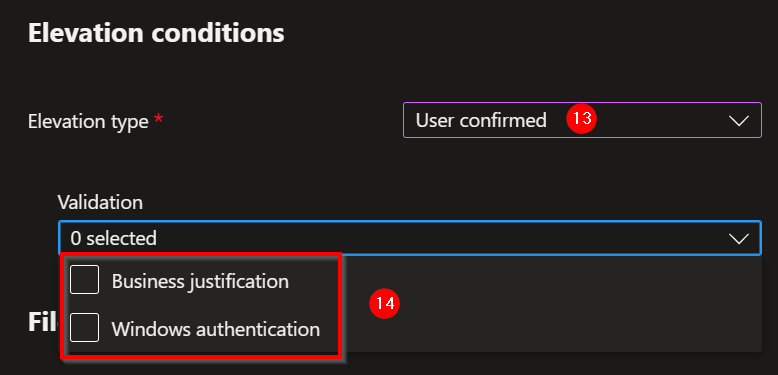
13. Elevation type: User confirmed. When the user starts the executable elevated the users will get a prompt with a notification that the process will be elevated.
14. This can be extended with a Business justification or Windows authentication.
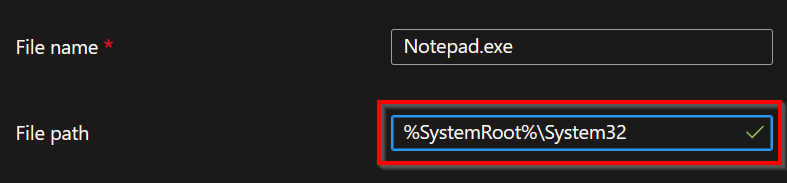
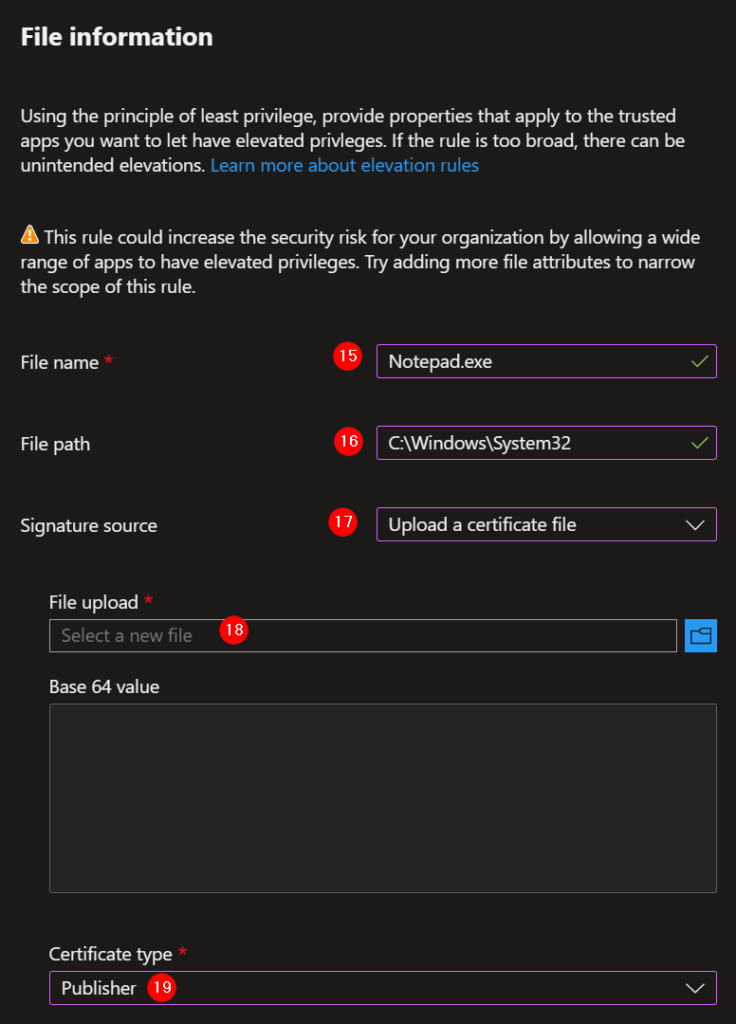
15. File name: Exact file name with extension.
16. File path: Relative path to the file, at the moment, no system variables can be used.
Update 21-09-2023: It is now possible to use system variables in the relative path name!
17. Signature source: Upload the certificate file.
18. Upload the created .cer file.
19. Certificate type: Publisher.
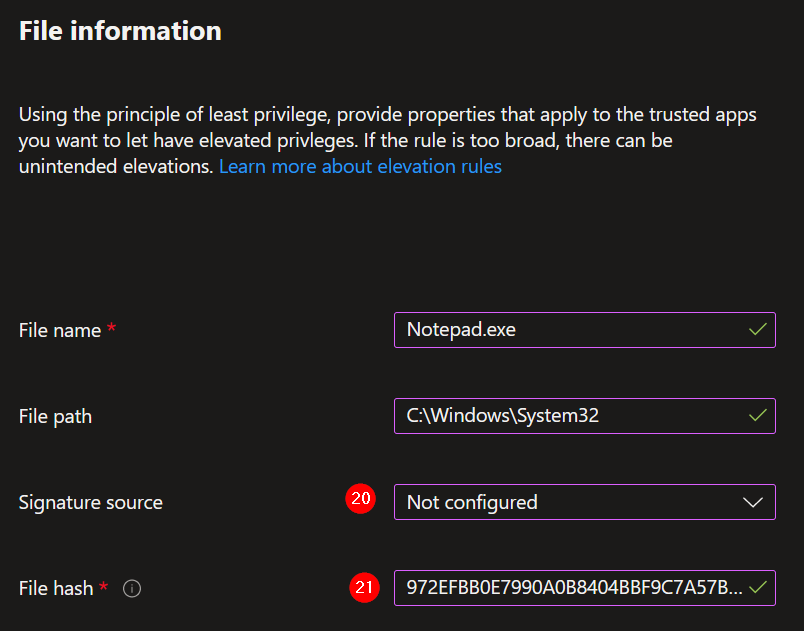
20. When the executable is not signed, you can use the file hash. Select Not configured.
21. Paste the file hash created in: 6.2 – Get the file hash of the executable that must start elevated.
22. It is also possible to re-use a publisher certificate for more purposes. Select: Use a certificate file in reusable settings. See the next chapter (8 – Configure reusable settings) for how to configure this.
23. Upload the created publisher certificate.
24. Certificate type: Publisher.

Configure reusable certificate settings
1. Create a publisher certificate like in 6.1 – Extract the publisher certificate which is used for signing the executable.
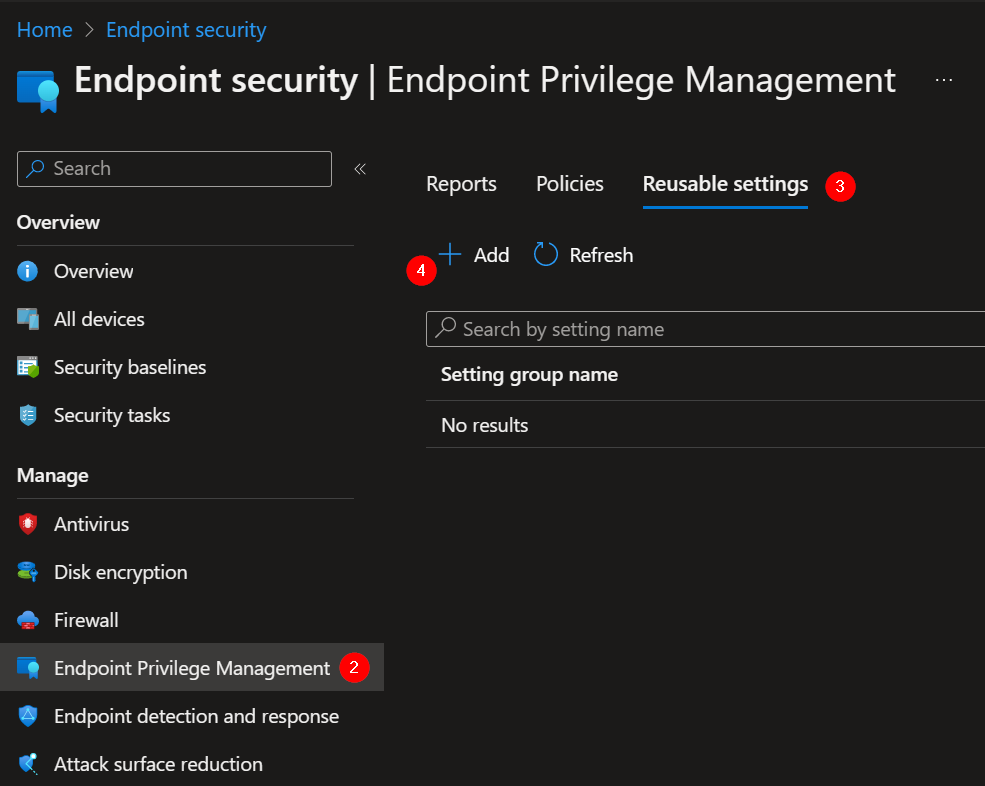
2. In the Microsoft Intune Portal choose “Endpoint Privilege Management”.
3. Reusable settings.
4. Add.
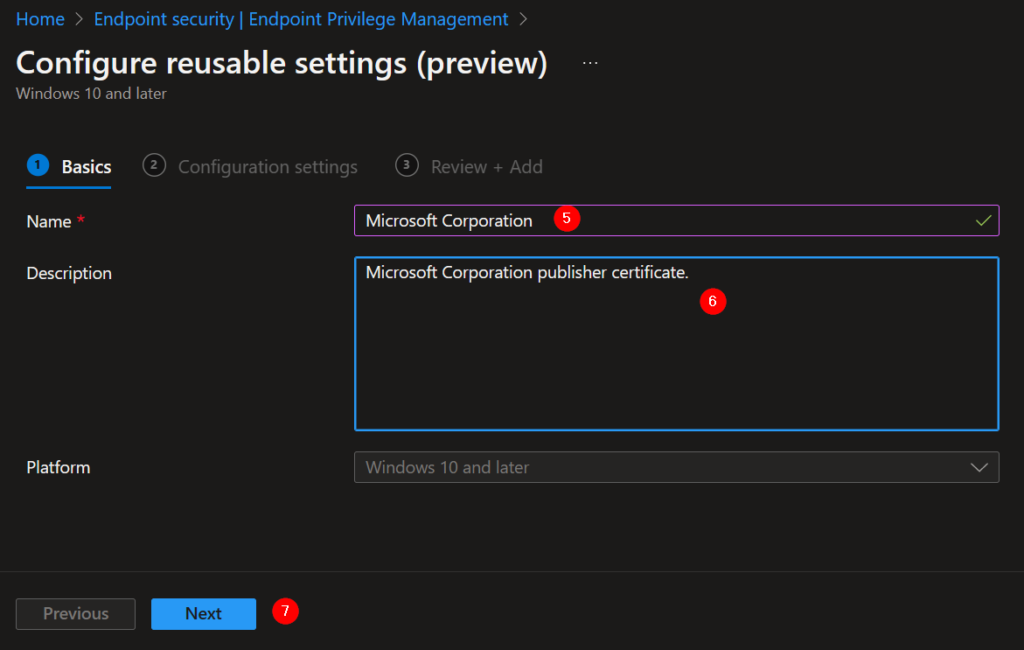
5. Give the certificate a proper name.
6. Describe the purpose of the certificate.
7. Next.
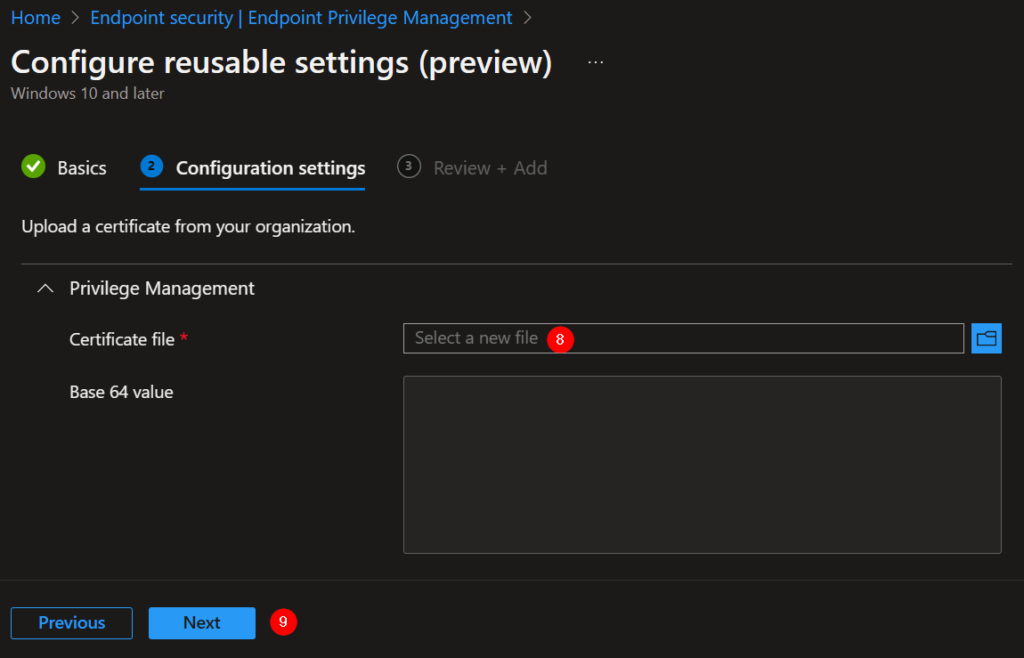
8. Upload the certificate.
9. Next.
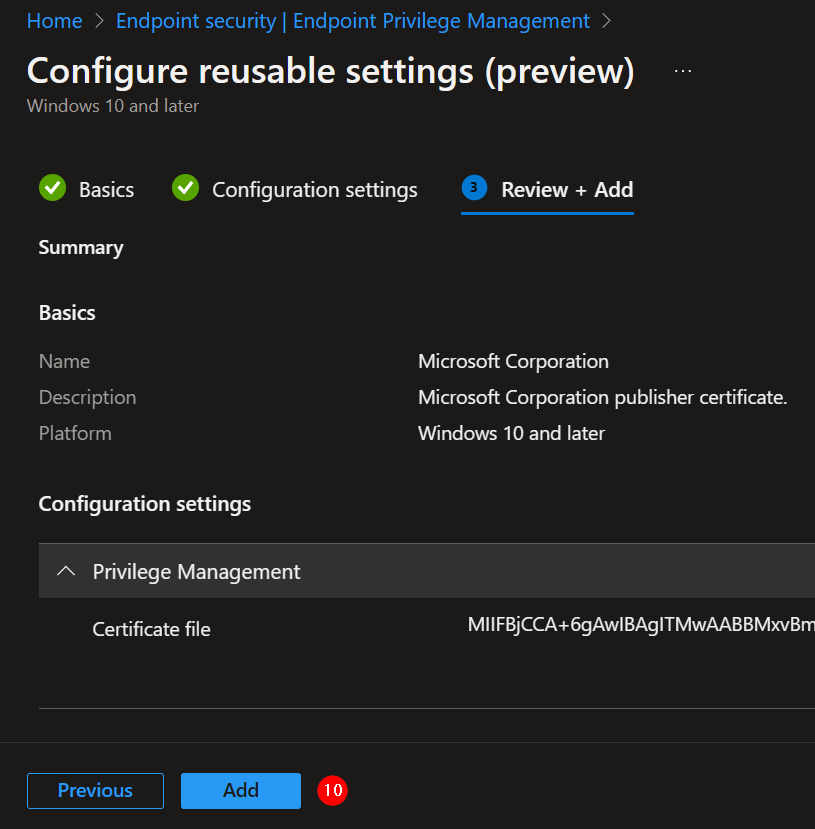
10. Add to finish.
Now you can use the reusable certificate in the Elevation Rules policies.
Troubleshooting
Logging
C:\Program Files\Microsoft EPM Agent\Logs
PowerShell cmdlets
- – Open PowerShell with admin privileges.
- – Go to EpmTools folder (cd ‘C:\Program Files\Microsoft EPM Agent\EpmTools\’)
- – Import the Epm Agent cmdlets (Import-Module .\EpmCmdlets.dll)
Available commands:
- Get-Policies: Retrieves a list of all policies received by the Epm Agent for a given PolicyType (ElevationRules, ClientSettings)
- E.g. Get-Policies -PolicyType ElevationRules -Verbose | Format-Table -AutoSize
- Get-Policies -PolicyType ClientSettings -Verbose | Format-Table -AutoSize
- Get-DeclaredConfiguration: Retrieves a list of WinDC documents received by Declared Configuration targeting a given PolicyType (ElevationRules, ClientSettings). These are the policies targeted to the device, for every policy two WinDC documents are received in the device, one of type MSFTPolicies (actual policy) and one of type MSFTInventory (inventory operation)
- E.g. Get-DeclaredConfiguration -PolicyType ElevationRules -Verbose | Format-Table -AutoSize
- Get-DeclaredConfigurationAnalysis: Retrieves a list of WinDC documents of type MSFTPolicies and checks if the policy is already present in Epm Agent (Processed column)
- E.g. Get-DeclaredConfigurationAnalysis -PolicyType ElevationRules -Verbose | Format-Table -AutoSize
- Get-ElevationRules: Query the EpmAgent lookup functionality and retrieves rules given lookup and target, currently two kinds of lookups are supported (FileName, CertificatePayload)
- E.g. Get-ElevationRules -Target 0F8E191824716C293476BA7BCA6A8A3859C4E4D8C9BC261ED14086C782453701 -Lookup CertificatePayload -Verbose
- Get-ElevationRules -Target ccmclean.exe -Lookup FileName -Verbose