Cloud native certificate enrollment via Microsoft Intune (Part 3/3) – RADIUSaaS

This is the third and last part of a (for now) 3-part blog series about how to enroll user/device certificates via Microsoft Intune. In this series I’m going to show you:
- How to you can easily set-up a cloud-based Certification Authority (part 1).
- The deployment of user and/or device (SCEP) certificates to Windows devices (part 2).
- How to securely authenticate to network resources with a certificate via Radius (part 3).
First, again let’s start with a few clarifications. To start is what is network access control? And why do you want to use it? NAC, also known as network admission control, enables an organization to restrict unauthorized or non-compliant devices and users from accessing the corporate network.
To authenticate on a secure way to the corporate network a commonly used method is through RADIUS. When connecting to network resources via RADIUS the Authentication is based on certificates.
Because this 3-part series is all about cloud native certificate enrollment the next step is to authenticate with the certificate that we deployed in the previous parts to a cloud-native RADIUS solution. If you want to go fully cloud native, you could consider using RADIUSaaS (RADIUS-as-a-Service).
Otherwise, if you already have network gear in house that support RADIUS you also can use Cisco ISE, Aruba ClearPass or a Microsoft Network Policy Server (NPS).
So, let’s start with configuring RADIUSaaS then!
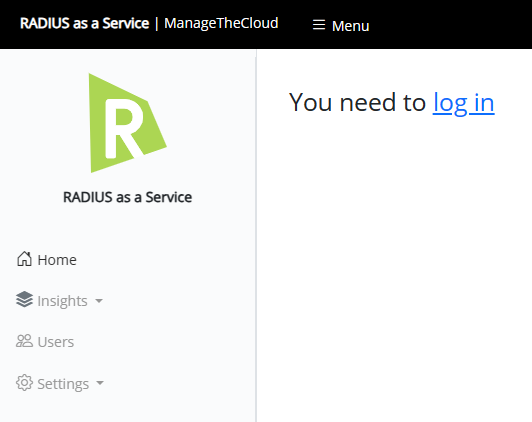
If you activated your RADIUSaaS instance you receive a personal link to manage your RADIUSaaS environment, go to the RADIUSaaS Admin Portal and log in.
When first logging in the RADIUSaaS portal ask to give the portal access to your Azure AD environment. You have to consent this on behalf of your organization.
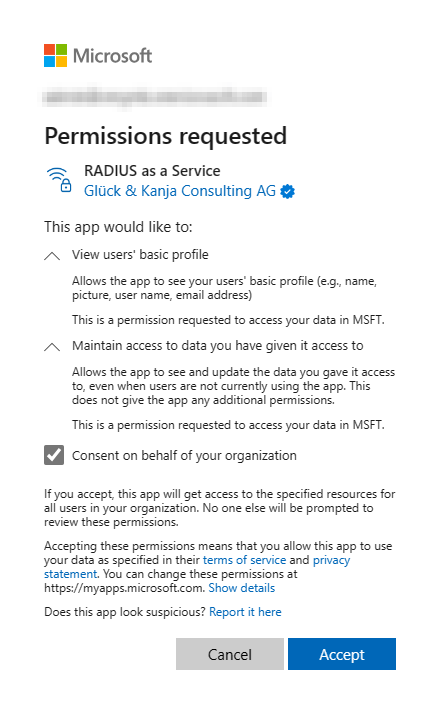
When consenting the permissions your now able to log in to the admin portal with your organization’s credentials.
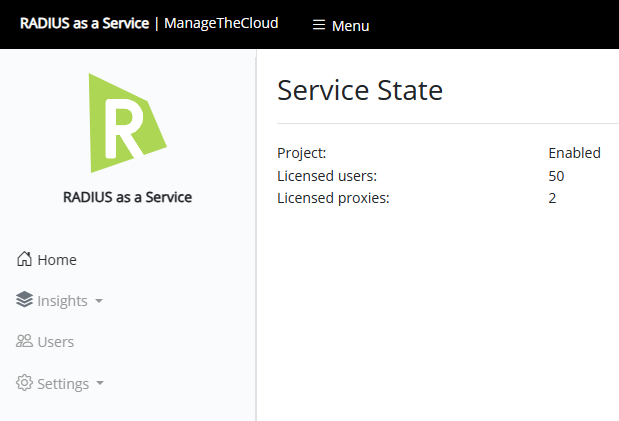
In a brand new RADIUSaaS environment there is no proxy available, only a RadSec instance.
What is RadSec? RadSec is a feature supported by some RADIUS servers. Because RadSec forms an encrypted TLS tunnel between the client and server, it’s even more secure than your standard RADIUS. It can be used by any organization using RADIUS servers but is commonly used in situations where employees are expected to roam between networks, such as businesses with multiple locations.
Source: https://www.securew2.com/blog/what-is-radsec
For now, we are not going to use RadSec because the network gear I’m using for the lab environment is not supporting this at the moment (Unifi Ubiquiti). This means we need to set up a RADIUS proxy.
First of all, let’s talk about the performance of a RADIUS proxy, regarding the official docs:
Each proxy can handle up to 1,500 concurrent connections flawlessly.
This corresponds to a time-based performance of 10,000 authentications per minute per proxy.
So, for my lab environment setting up 1 proxy does the job for me. If you have to possibility to configure a primary and a secondary proxy on your network gear, you should definitely do this. Thereby, the second public IP address should be located in a different geo-region than the primary address.
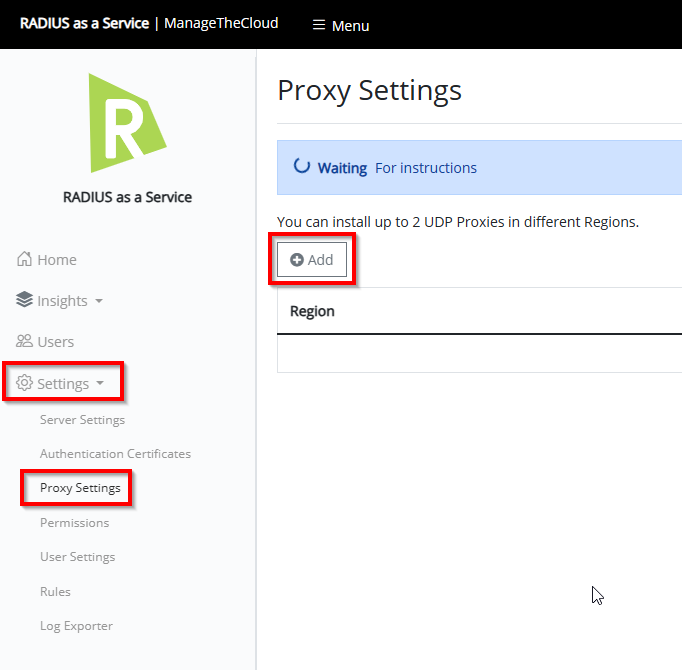
Go to Settings followed by Proxy Settings and select + Add.
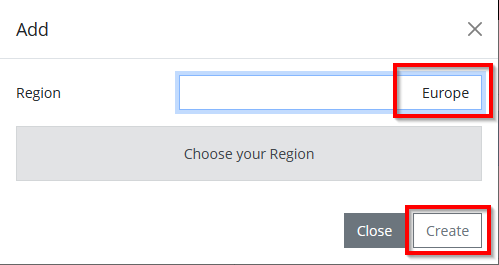
Select region where you want to create the proxy in (primary and secondary in different regions) and select Create.
The proxy is now installing..
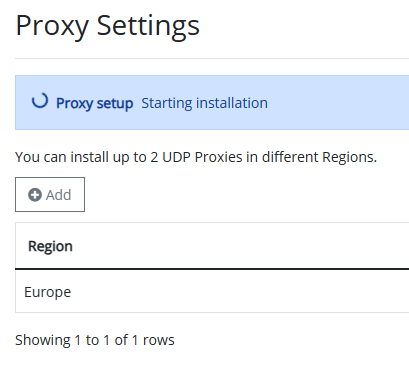
This takes a while, let’s grab a coffee 🙂

Definitely worth grabbing a coffee because it took about 10 minutes.
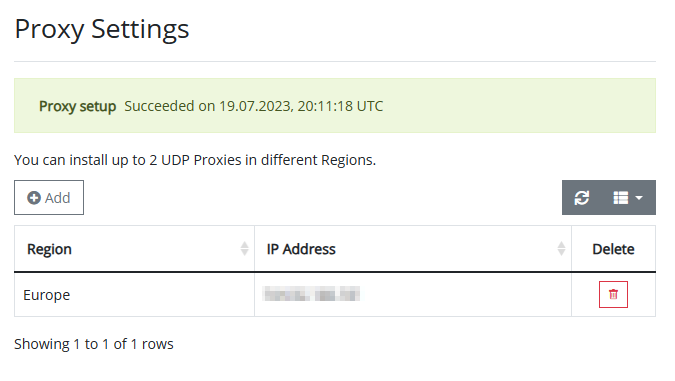
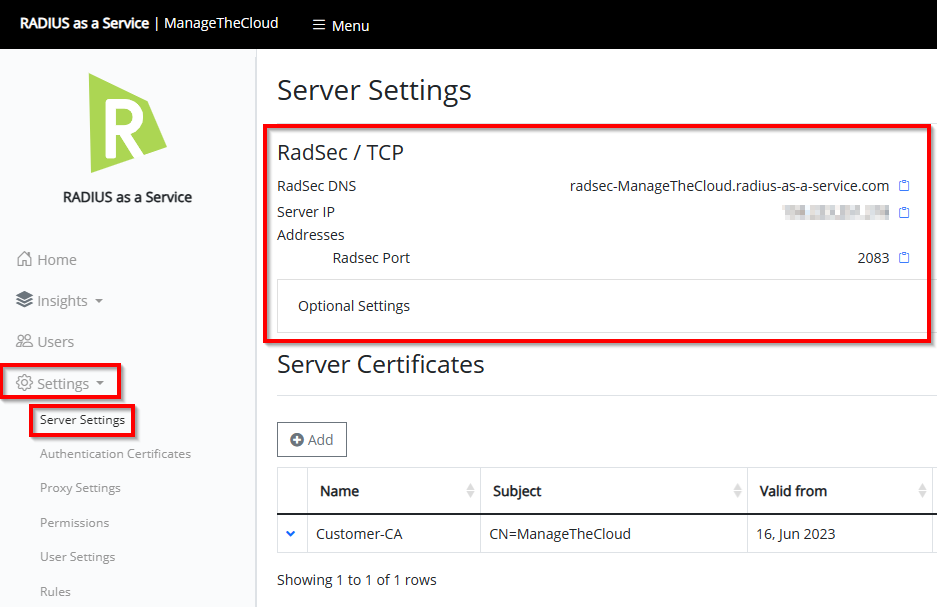
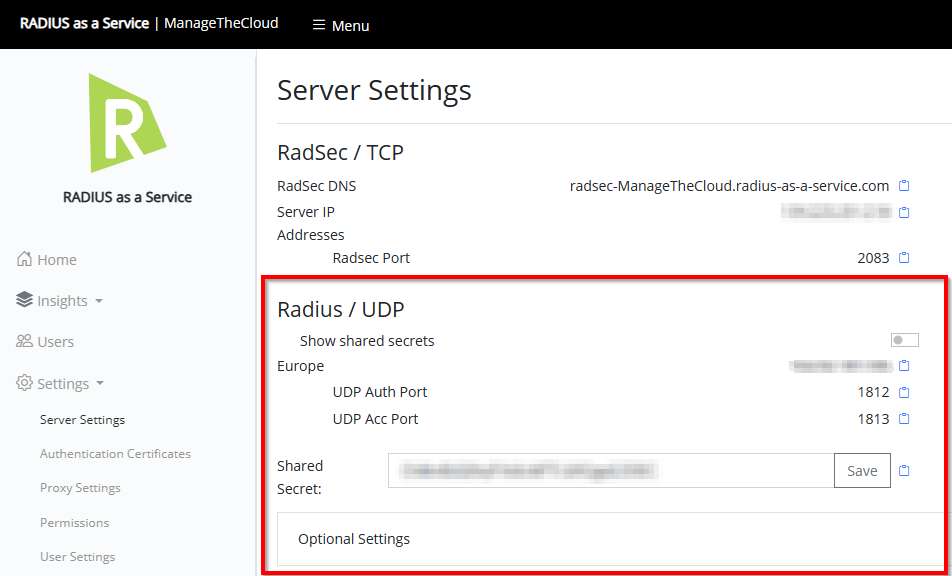
If we you now the Server Settings the proxy is available.
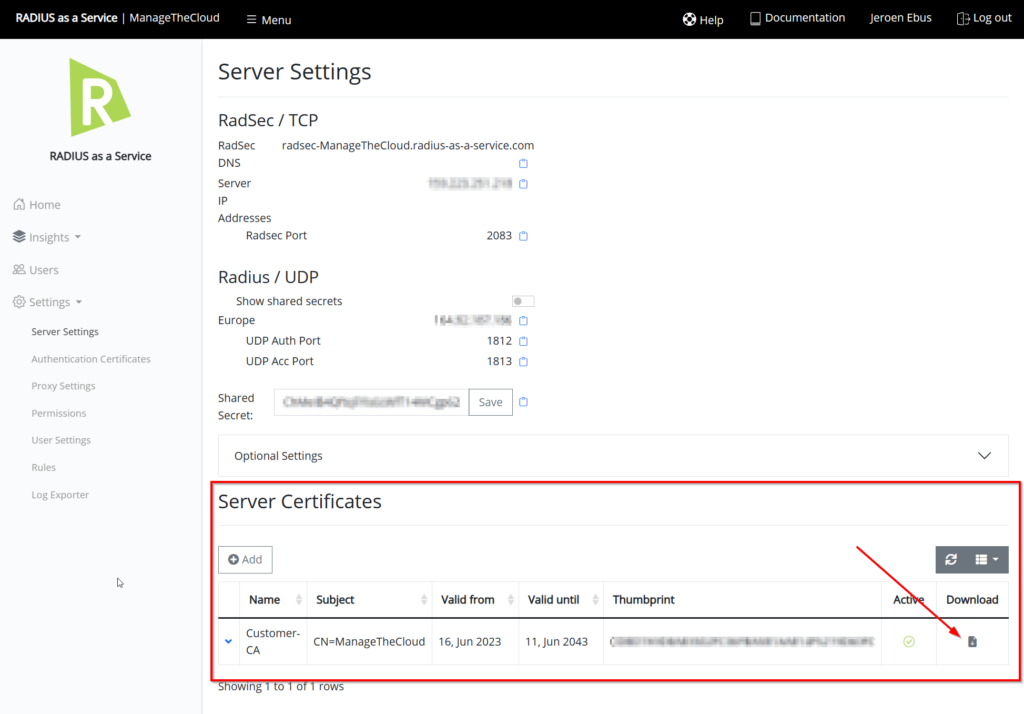
Next step, downloading the server certificate that is needed to deploy as a trusted certificate to the devices that are connecting through RADIUS. This is also possible with a certificate created with SCEPman, please let me now if you want to see a follow up regarding this method.).
For now, click on the Download icon behind the Server Certificate.
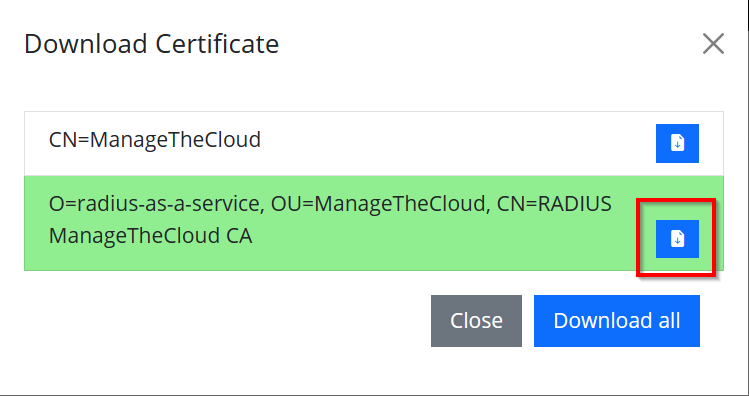
Download the server certificate.
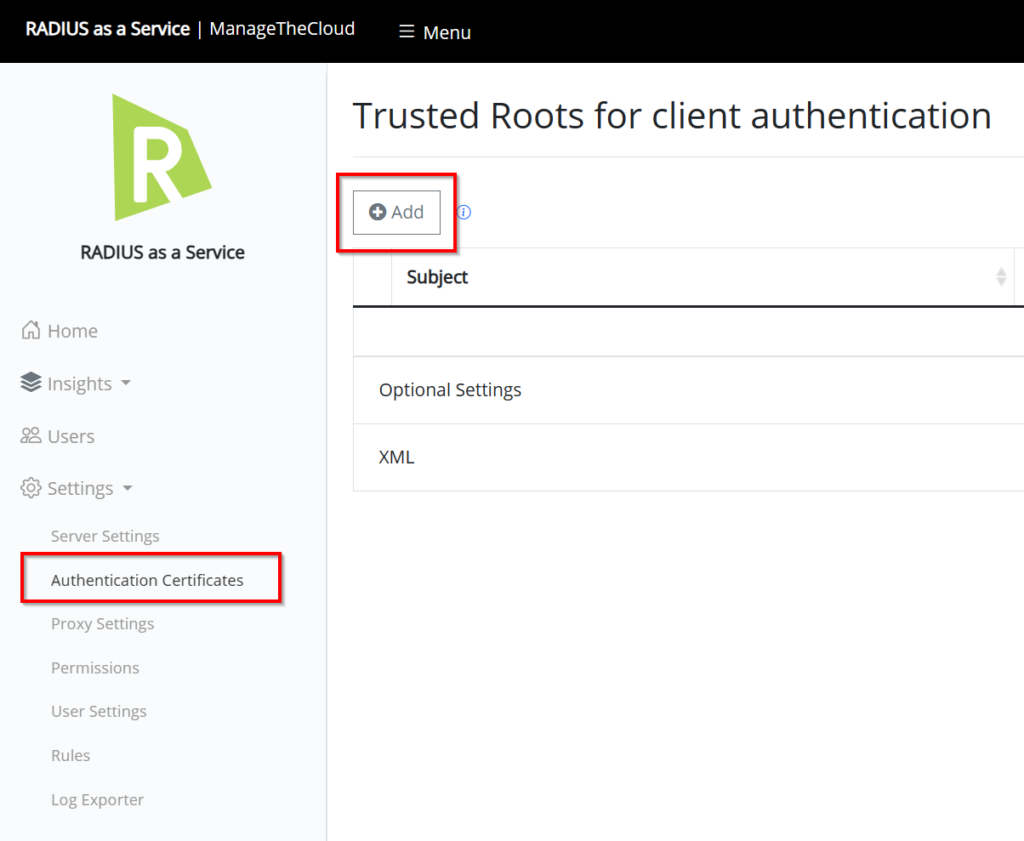
The next step is to configure the SCEPman instance in the Trusted Roots for client authentication.
Go to Settings followed by Authentication Certificates and click on + Add.
Copy the URL of your SCEPman instance from the SCEPman Server Node and click on Save.
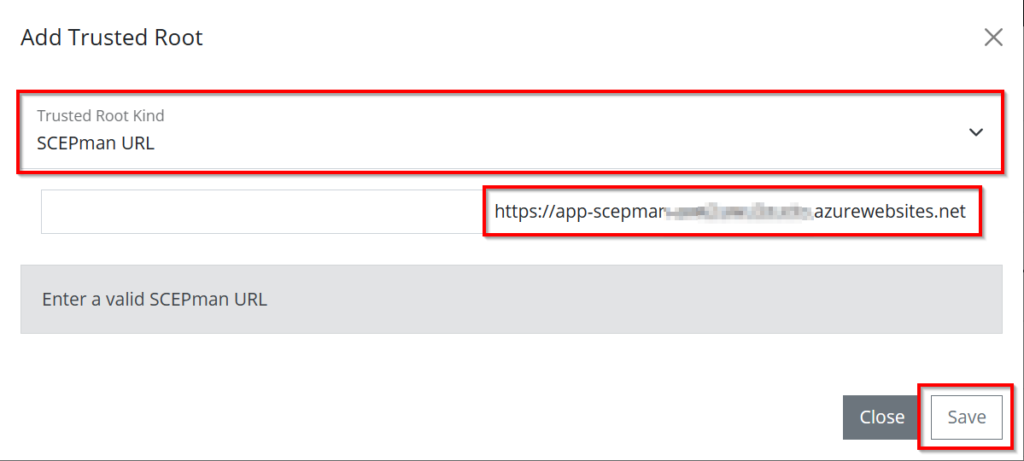
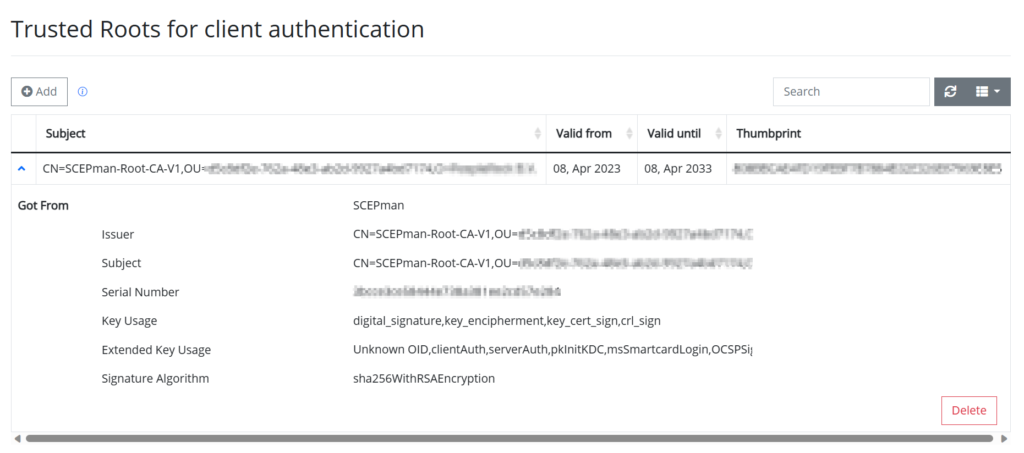
The URL will be validated and look like underneath.
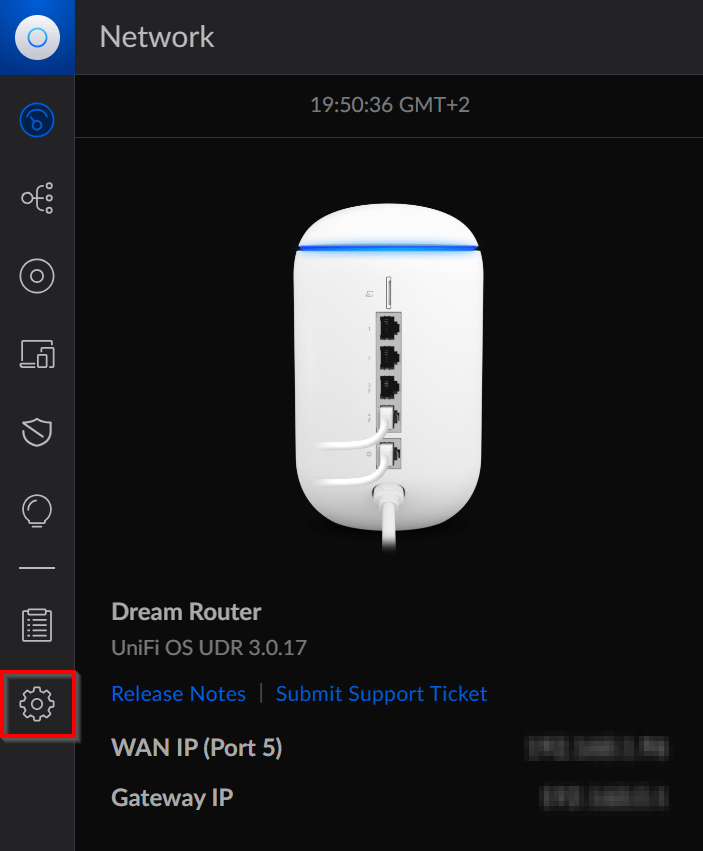
Next, we are going to configure the network gear. In my lab environment this is a Unifi Dream Router.
Go to the Unifi OS admin portal and log in.
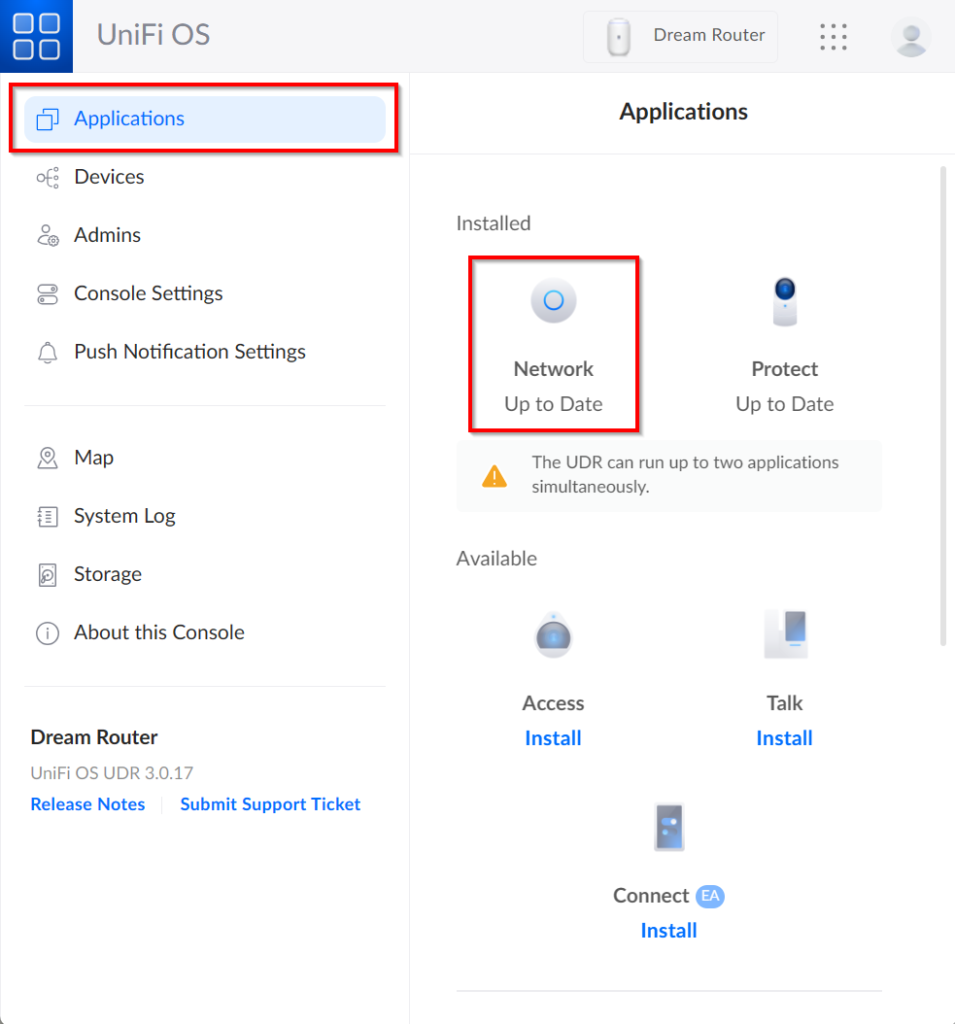
In the side menu select Applications and choose Network.
Click on the gear icon to go to the settings.
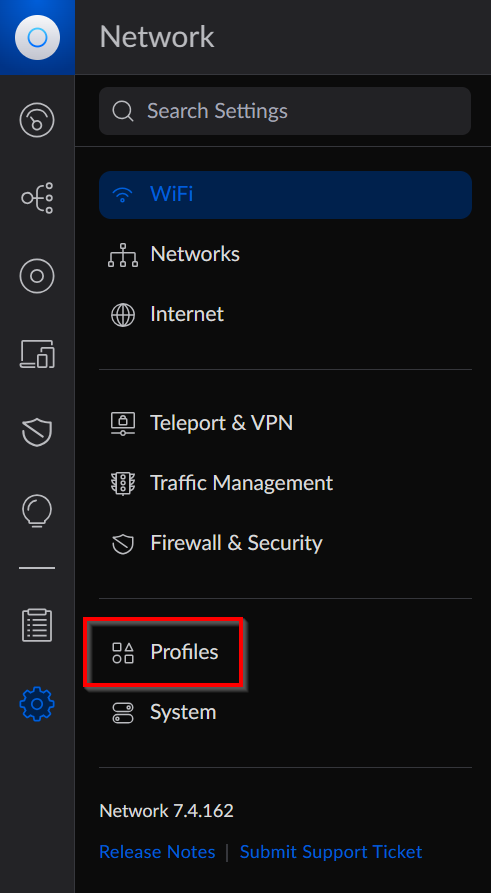
Select Profiles, to go to the part where the RADIUS servers can be configured.
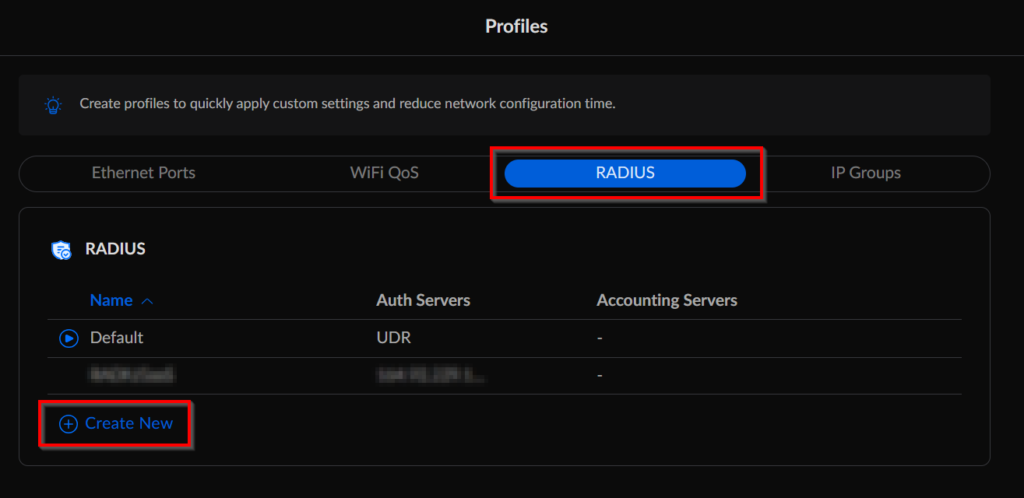
Select the RADIUS button to configure the RADIUS servers.
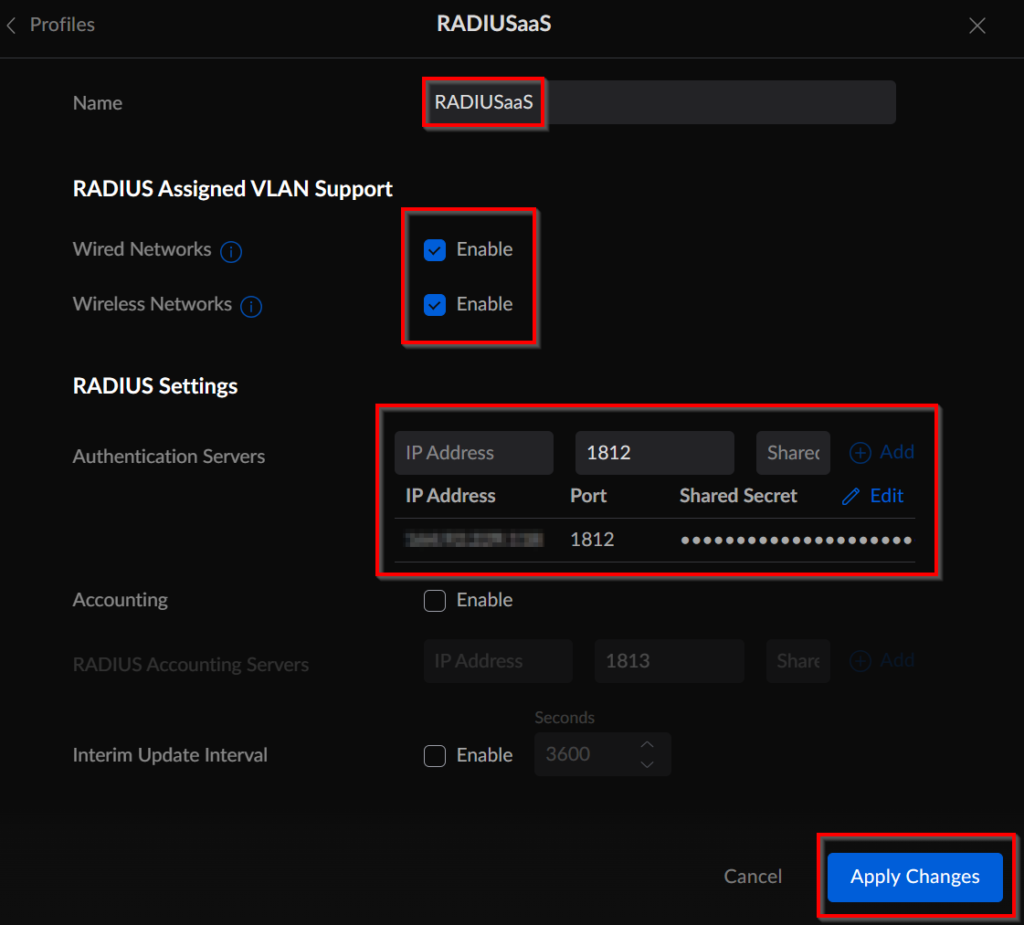
Fill in the details from the Server Settings page in the RADIUSaaS admin portal (server ip address, port numbers and shared secret).
Now we have come to the last part, we are going to deploy the root certificate and Wi-Fi profile to the devices that you want to connect with a certificate to the designated Wi-Fi network.
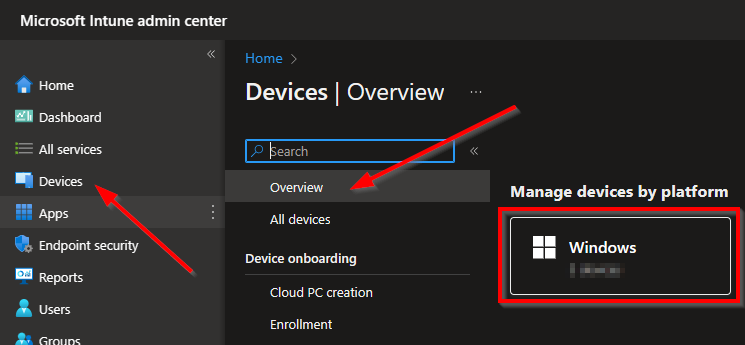
Now let’s go to the Intune portal, select Devices followed by Overview and then Windows.
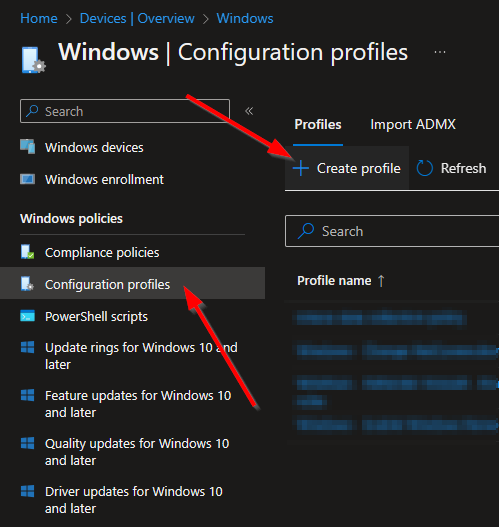
Select Configuration profiles and select Create profile.
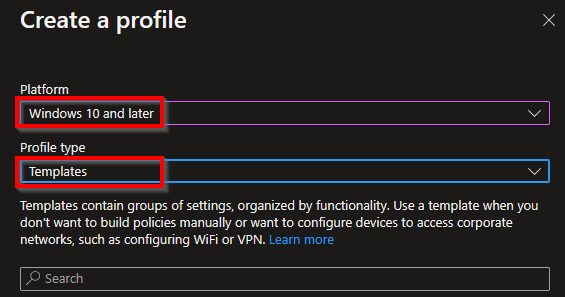
On the next screen select Windows 10 and later followed by Templates.
Note: I always prefer to use the Settings Catalog but unfortunately this is not (yet) possible for Trusted certificates.

Select Trusted certificate and then Create in the template selection overview.

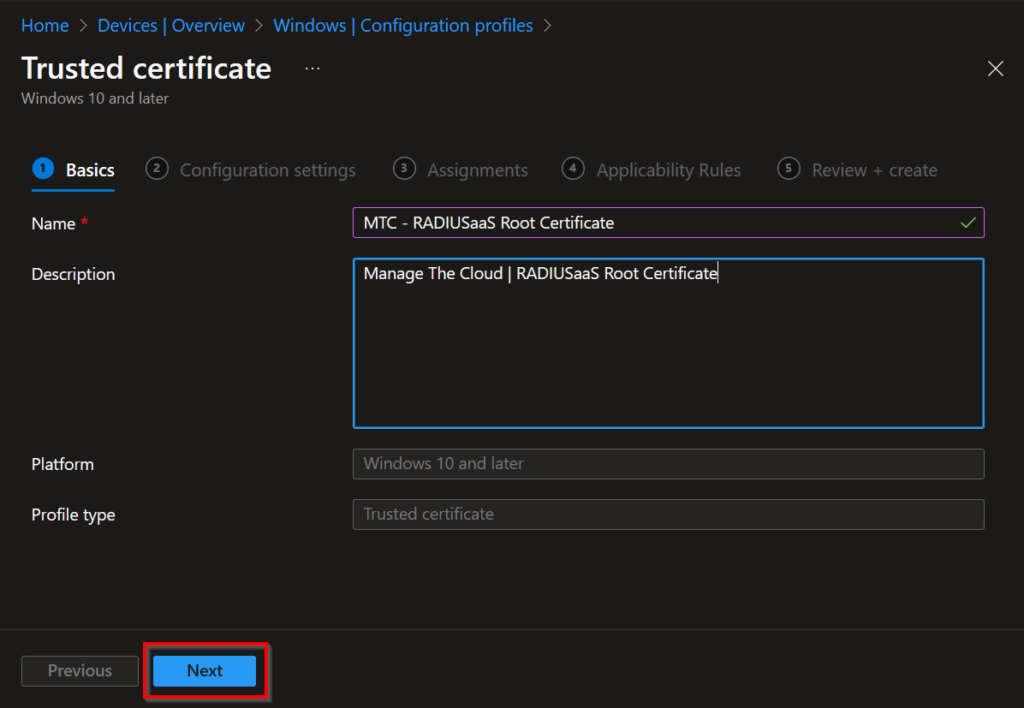
Give the profile a proper name and description and click on Next.
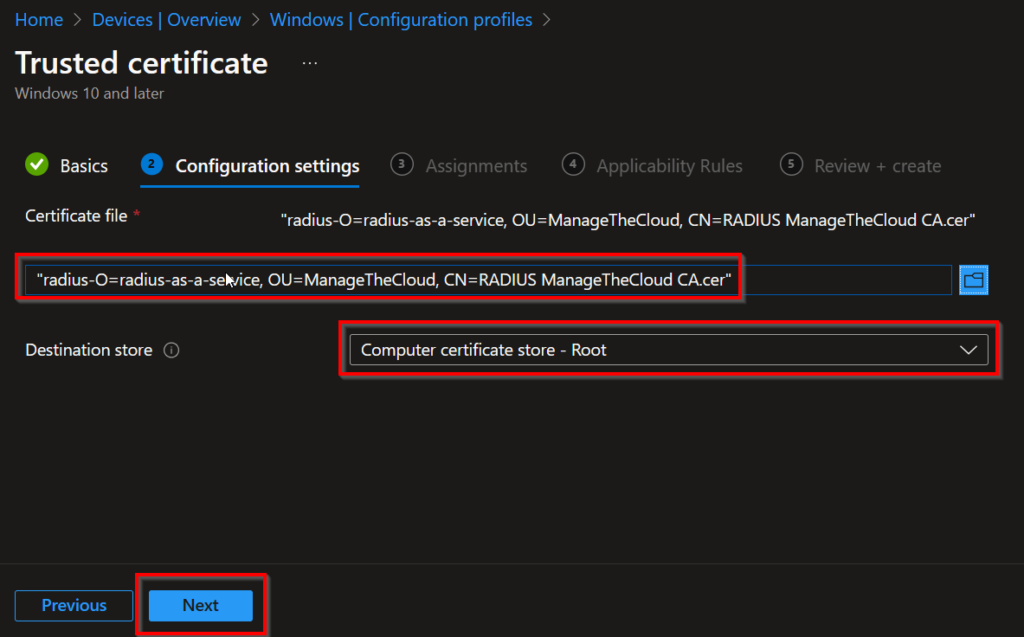
Upload the Root Cert that you have downloaded in an earlier stage, choose as the destination store Computer certificate store – Root. Now click Next to proceed.
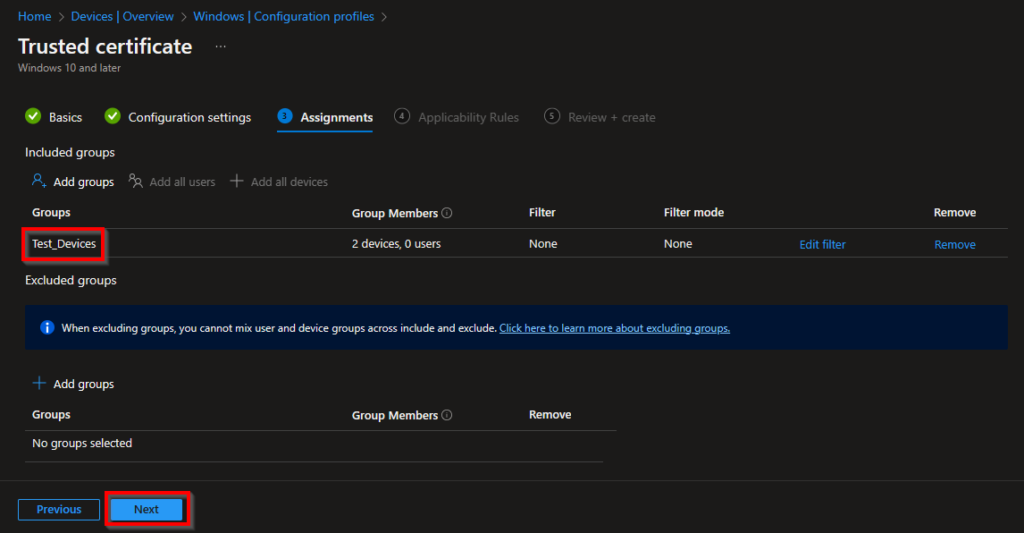
Add a group (of devices) that you want to deploy the Root Cert to and click Next.
In the following screen choose Next in the Applicability Rules and Create in the Review + create section.
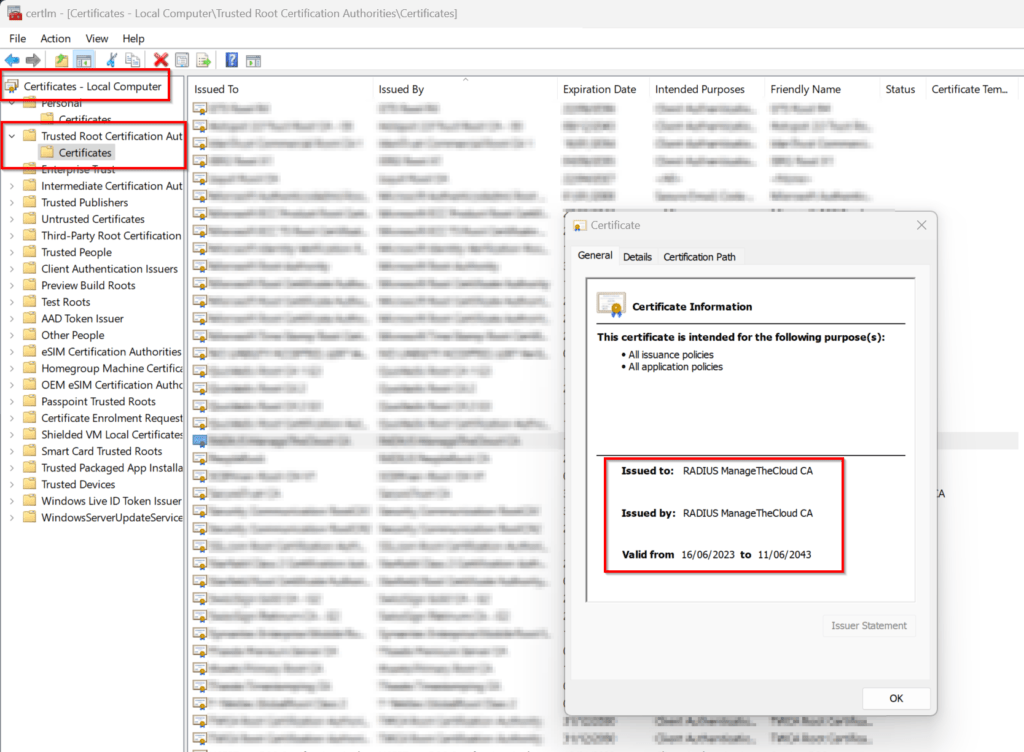
When the newly created Configuration Profile arrives at the device, soon enough you will see the Root Certificate being stored in the Trusted Root Certification Authorities!
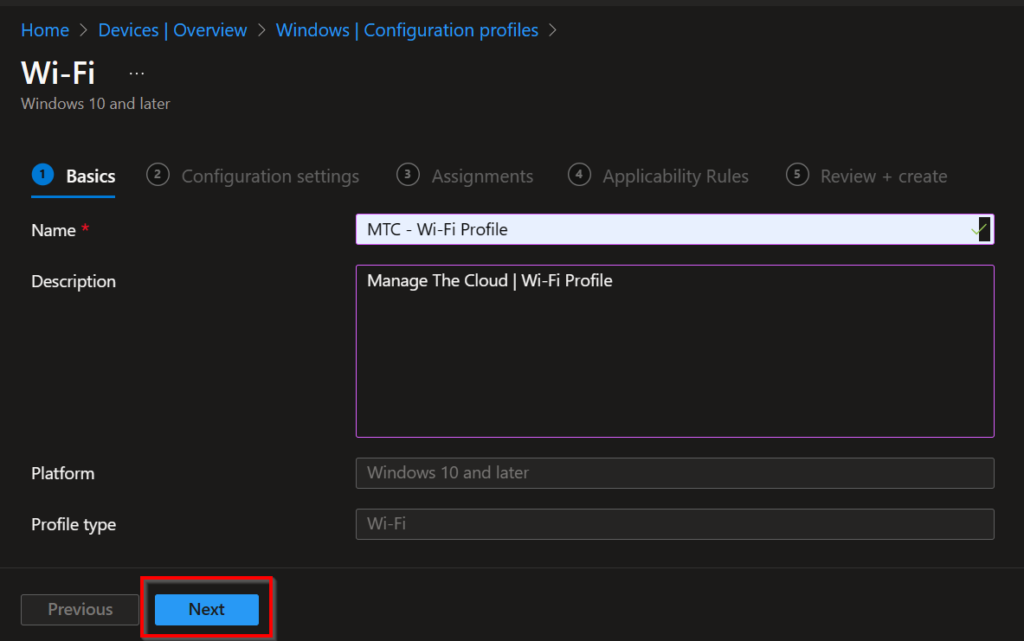
Up next, we are going to create the Wi-Fi configuration profile.
Same as before, go to Devices, Windows, Configuration profiles and create a profile.
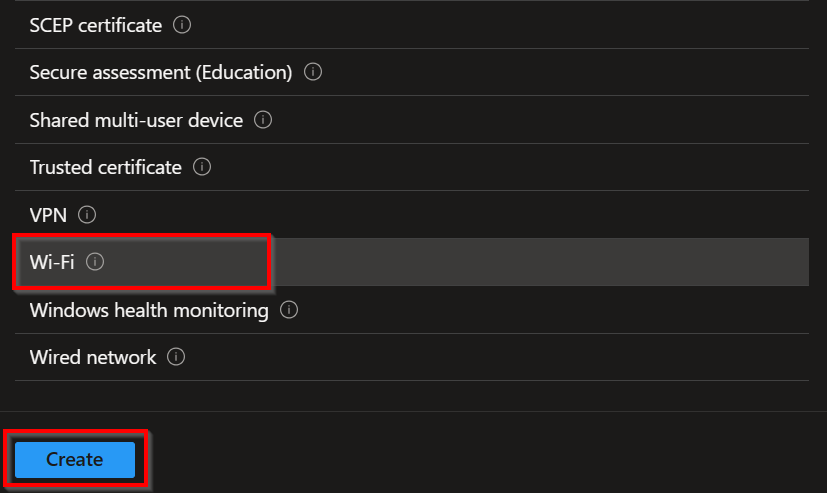
Select the platform and profile type and choose for the Wi-Fi template. Now click Create.
Note: I always prefer to use the Settings Catalog but unfortunately this is not (yet) possible for the Wi-Fi connection.


Select Wi-Fi and then Create in the template selection overview.
Give the profile a proper name and description and click on Next.
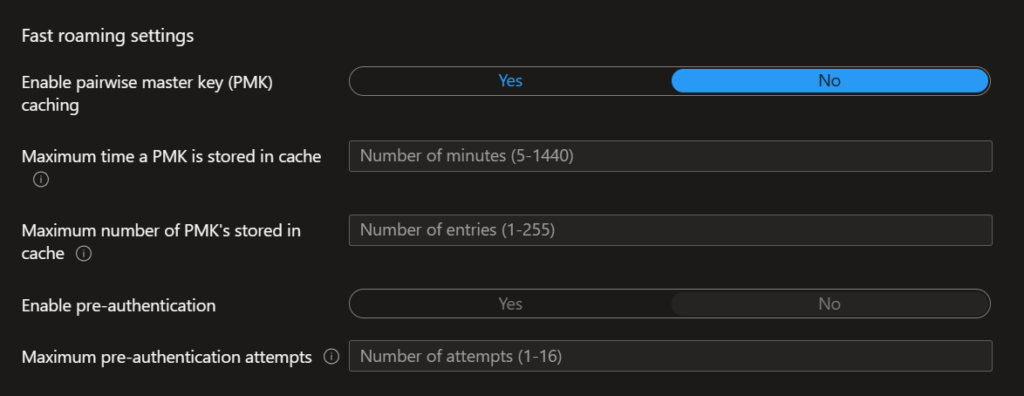
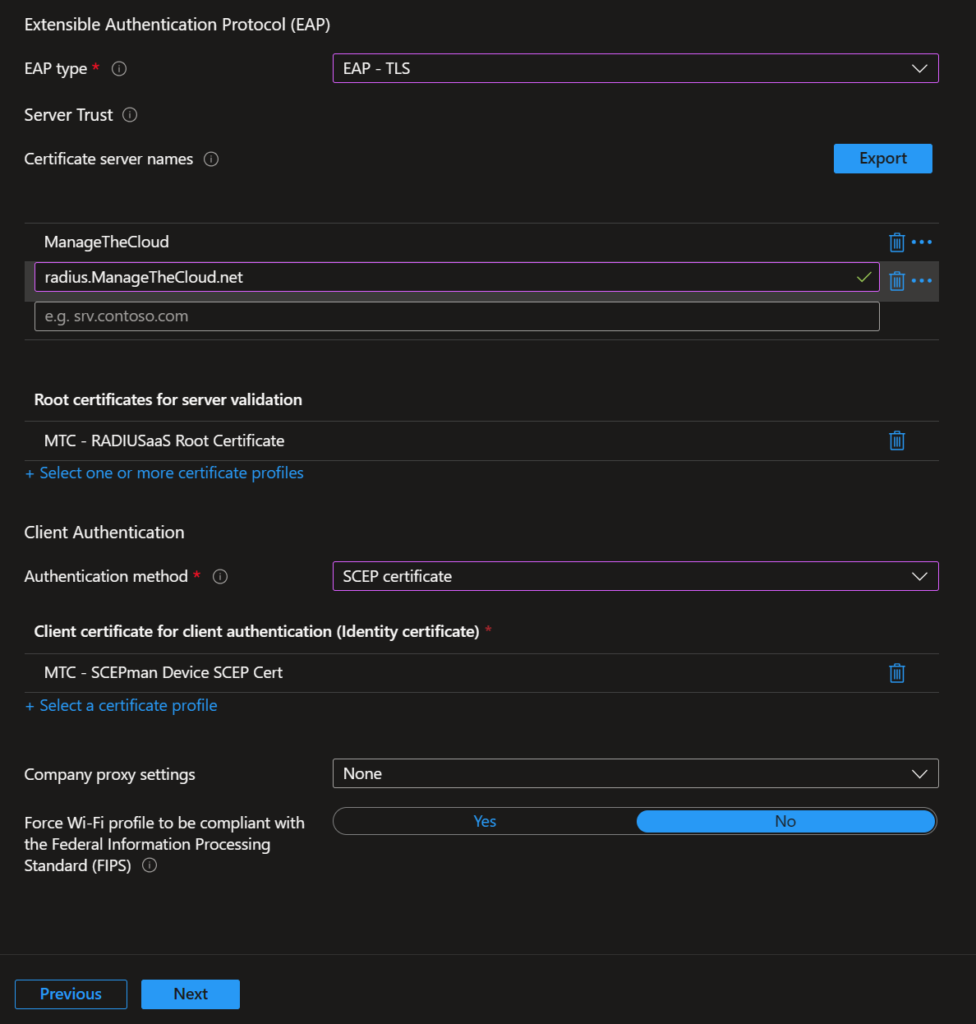
Fill in the details like on the screenshots below.
See Windows – RADIUSaaS for more detailed information about the configuration of the Wi-Fi profile.
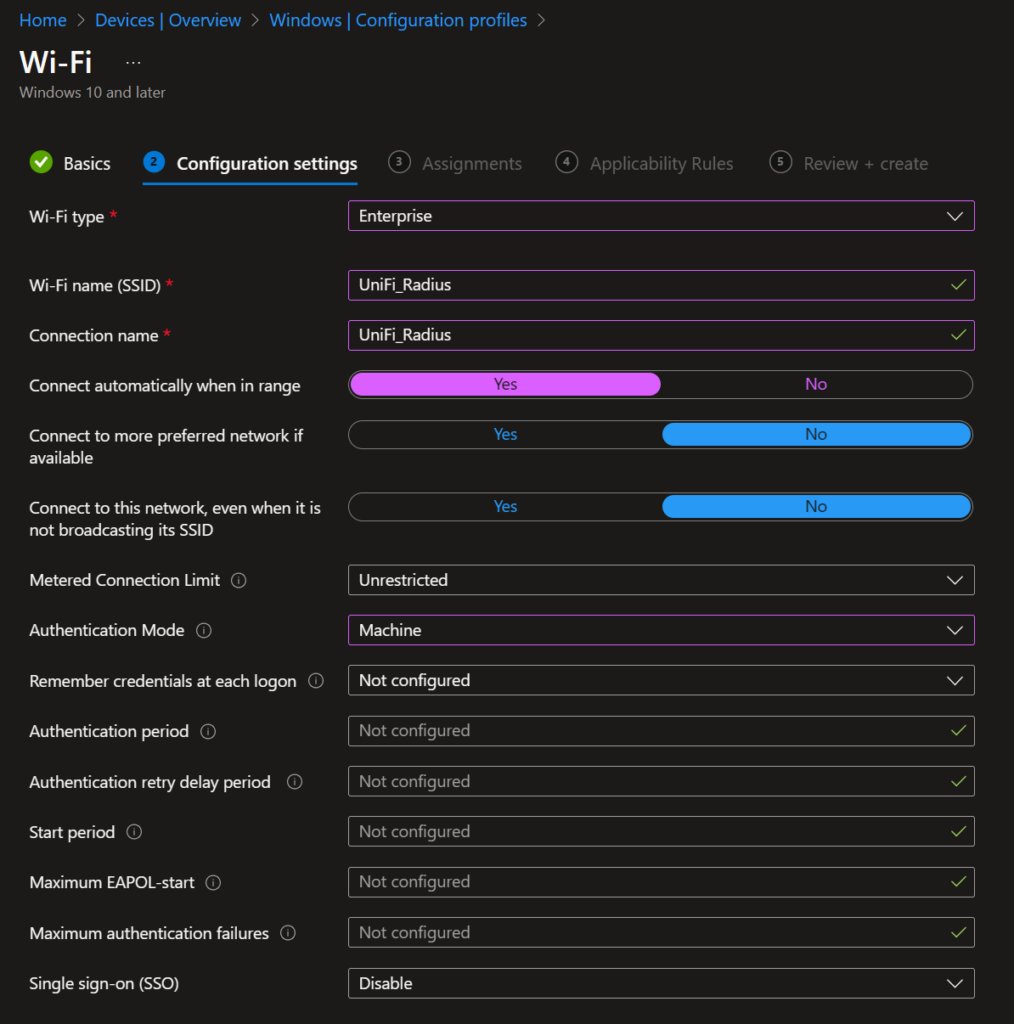
Now click Next to proceed.
Add a group (of devices) that you want to deploy the Root Cert to and click Next.
In the following screen choose Next in the Applicability Rules and Create in the Review + create section.
When the newly created Configuration Profile arrives at the device, soon enough your device will automatically connect to the SSID if it is broadcasting already!
What about monitoring? How do we see which devices are authenticating against the RADIUSaaS instance?
Well, let’s go to the RADIUSaaS admin portal again and select Rule Engine.
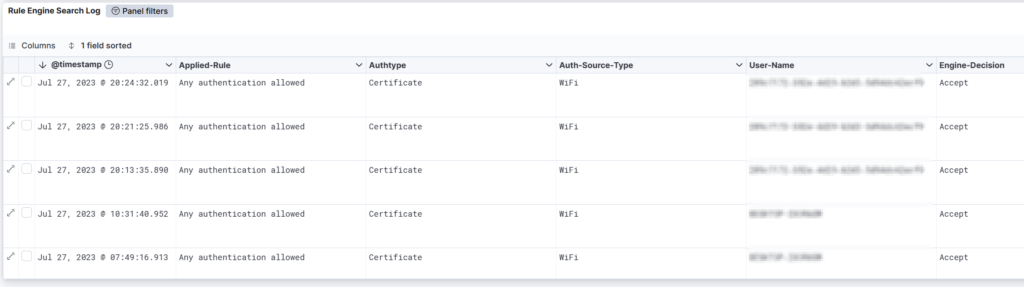
When devices are connecting successfully the rules would look some like below. The column Engine-Decision will report Accept for devices that are successfully authenticated.
Thanks for reading the third and for now last past of the journey for Cloud Native certificate enrollment.
What we have done/ achieved so far:
- Set-up SCEPman as a Cloud Native Certificate Authority.
- Connected the Certificate Authority to Microsoft Entra ID (Azure AD) and Microsoft Intune.
- Created Configuration Profiles to:
- Deploy a root certificate to devices.
- Deploy SCEP device/ user certificates to devices.
- Set-up RADIUSaaS as Cloud Radius provider.
- Connected RADIUSaaS to network gear (Ubiquiti Unifi).
- Created Configuration Profiles to:
- Deploy a Radius root certificate.
- Deployed a Wi-Fi configuration profile.
- Successfully connected a device to the network gear with a Cloud issued certificate.
If you want to see me writing some more stuff about certificate enrollment or other related things, feel free to reach out to me!


2 thoughts on “Cloud native certificate enrollment via Microsoft Intune (Part 3/3) – RADIUSaaS”