Cloud native certificate enrollment via Microsoft Intune (Part 1/3) – SCEPman

This is the first part of a (for now) 3-part blog series about how to enroll user/device certificates via Microsoft Intune. In this series I’m going to show you:
- How to you can easily set-up a cloud-based Certification Authority (part 1).
- The deployment of user and/or device (SCEP) certificates to Windows devices (part 2).
- How to securely authenticate to network resources with a certificate via Radius (part 3).
All the above will be done with Microsoft Intune, Azure AD joined devices, SCEPman, RADIUSaaS and Ubiquiti UniFi network gear.
First let’s start with some clarifications, what is a certification authority? A Certificate Authority (CA) is a trusted entity that simply issues digital certificates, which can be done to users and/or devices. The CA is also known as a Public Key Infrastructure (PKI). The main purpose of a CA is to verify the trustworthiness of “something” over the internet. This “something” can either be a user, device, website etc.
Because of the fact that more and more companies are going “cloud-only” I’ve chosen a cloud native CA that can operate standalone in the cloud (Azure). No there will be no on-premises requirements to use this solution.
In this blogpost I’m going to use SCEPman as the CA, there are more ways to achieve this, for example with Active Directory Certificate Services (Microsoft CA) with NDES or other 3rth party products. Also, there a few ways to deploy certificates. For example, PKCS and SCEP, I’m going to use SCEP for now.
Niklas Tinner authored a good article about the comparison between SCEP and PKCS and guides you through the PKCS certificate deployment: Intune certificate deployment overview (oceanleaf.ch)
Also, Niels Kok did an excellent writing about how to deploy SCEP certificates via NDES with the Certificate Connector via Intune: Deploy SCEP Certificate Connector Intune – NielsKok.Tech
Both their solutions are completely fine, but if you want to go full cloud you will have to find other ways to manage your certificate deployment.
SCEPman offers a page that compares SCEPman and the Microsoft Certificate Connector for Intune / Active Directory Certificate Services (ADCS): Certificate Connector – SCEPman. Check it out, so you can decide for yourself what fits the best with your requirements.
Enough introduction, comparisons, pros and cons, let’s start with the deployment of SCEPman!
Deploy SCEPman via Azure Marketplace
In this guide we are going to cover how to deploy the Enterprise Edition of SCEPman via the “Standard Guide”. To get started go to the Microsoft Azure portal and search for the “Marketplace” or just visit:
https://portal.azure.com/#blade/Microsoft_Azure_Marketplace/GalleryMenuBlade/selectedMenuItemId/home
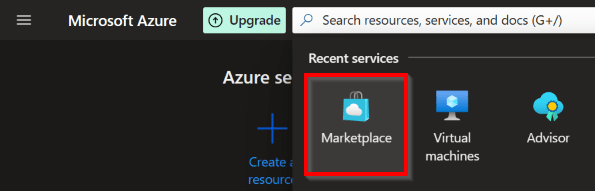
Now search for “SCEPman” and select “SCEPman – Certificates Simplified (Deployment) – Azure Application“.
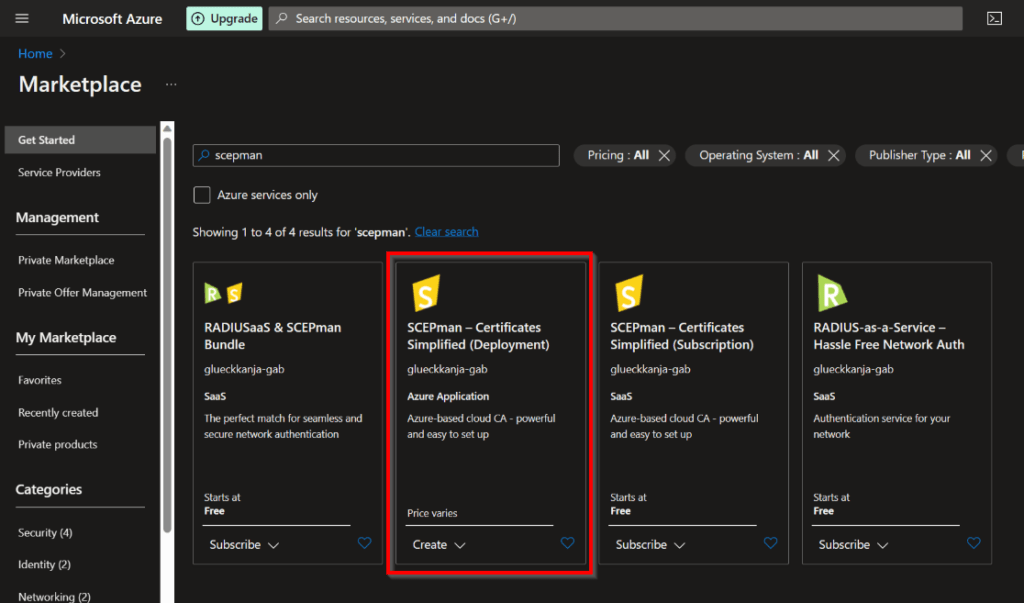
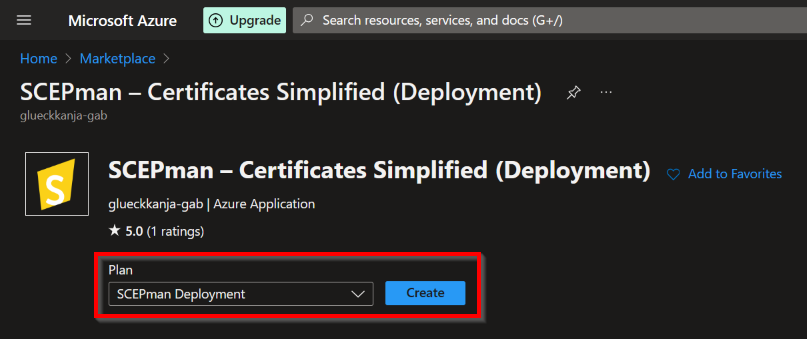
Now click on “Create” followed by: “SCEPman Deployment” or just follow the next link to go directly to the correct Marketplace deployment:
https://azuremarketplace.microsoft.com/en-us/marketplace/apps/glueckkanja-gabag.scepman?tab=Overview
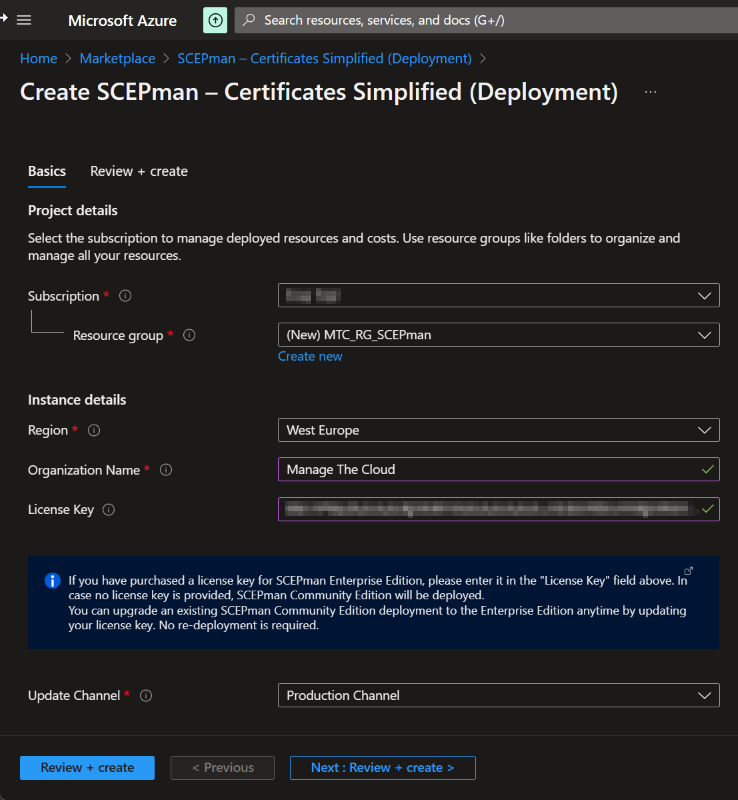
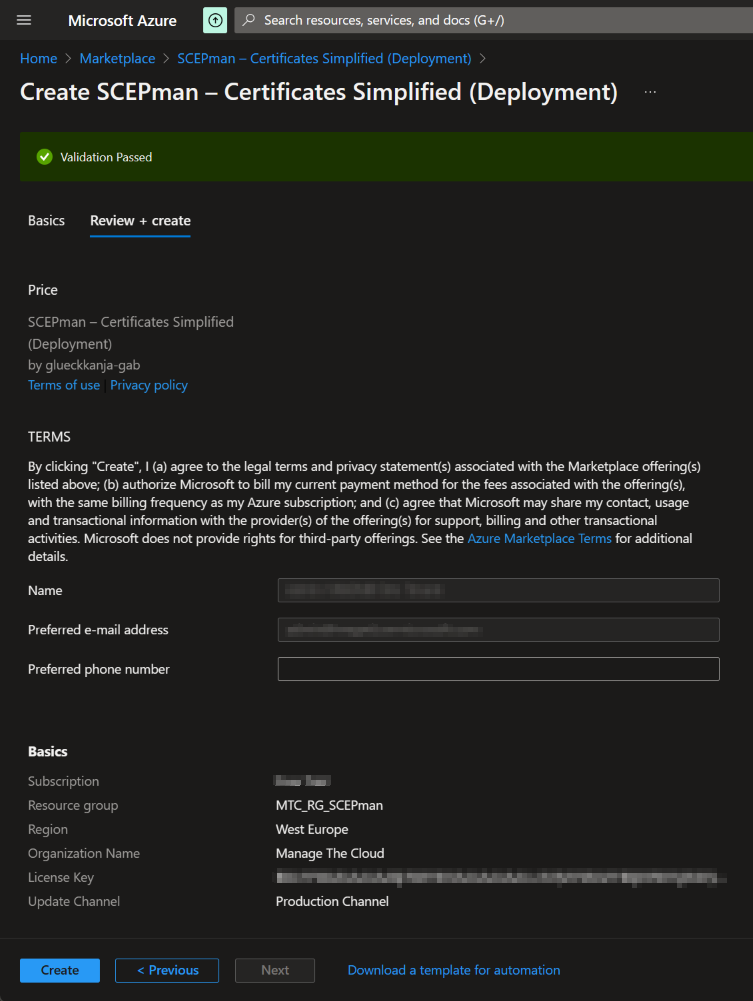
Fill in the required fields like:
- Subscription.
- Resource group (or just create a new one).
- Region.
- Organization Name.
- License key (if you don’t select one you will deploy the community edition).
- When you don’t enter a license key, it is always possible to enter the license key afterwards in the application settings of the App Service.
- Update Channel.
There are two editions of SCEPman, the (free) community edition and the licensed Enterprise Edition. For all the difference between them see: Editions – SCEPman.
Check the validation page and if it’s all correct press “Create“.
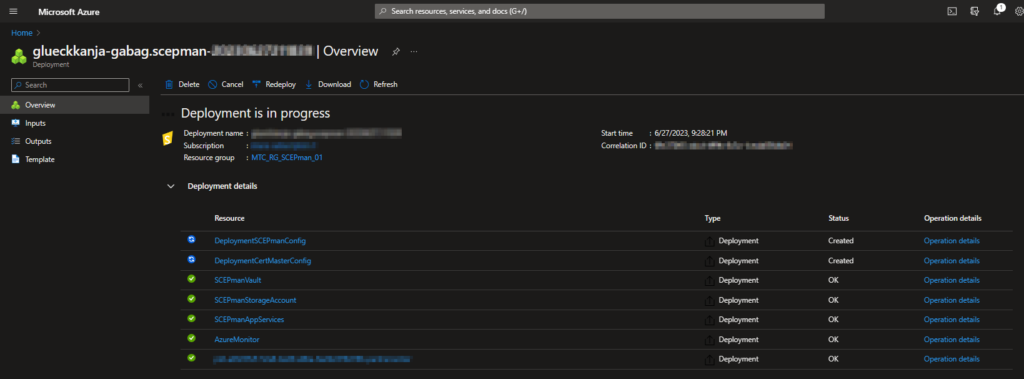
The deployment has started, this will take a few minutes. When it’s finished (all have the Status OK), select “Go to resource group“.
The (newly created) resource group will now contain the following resources:
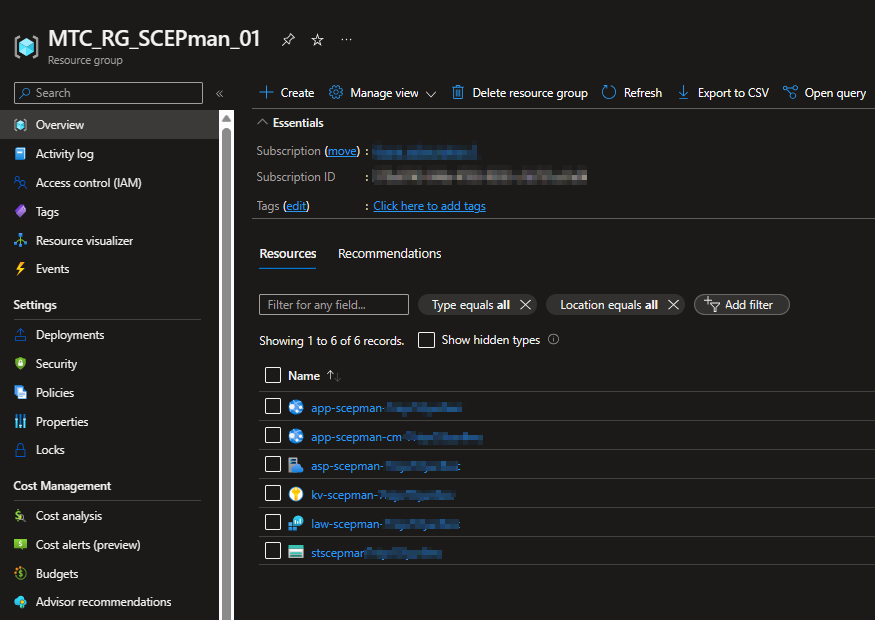
Click on the app service with the name: app-scepman-xxxxxxxxxxxxx (not the one with cm in the middle, this is the Certificate Master, we are going to need that one later.).
And on the next page click on the default domain URL.

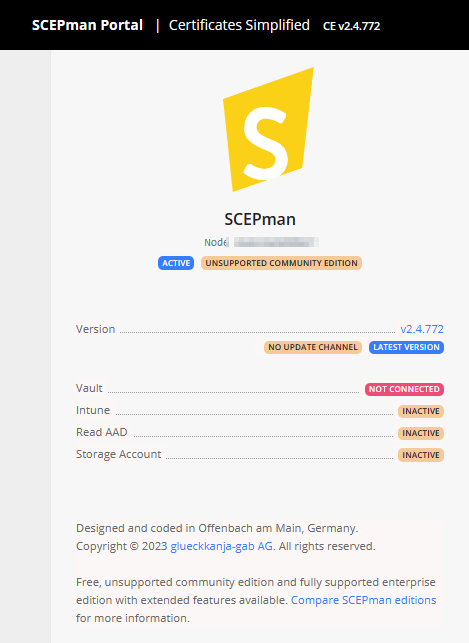
When you have deployed the community edition it will look like below:
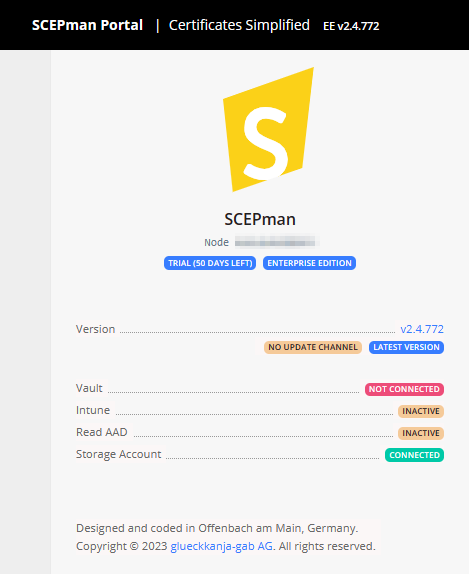
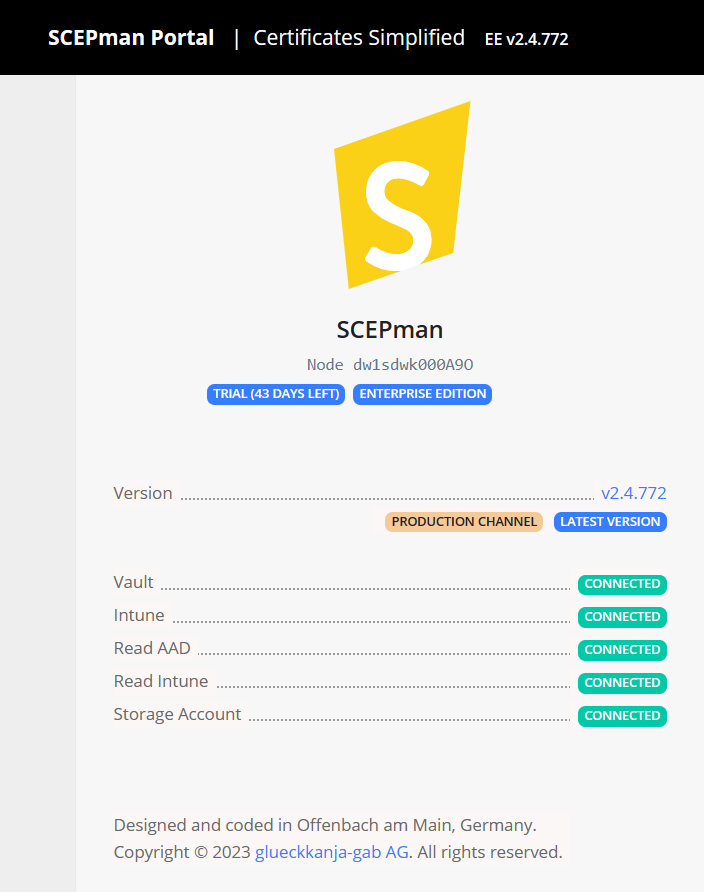
When you have the licensed Enterprise Edition it will look like below. Thanks to glueckkanja-gab AG for the trial to set up this blogpost!
When you didn’t provide a license key during the deployment you always can add a license key, just check the following documentation for how you can manage that.
https://docs.scepman.com/advanced-configuration/add-a-license-key
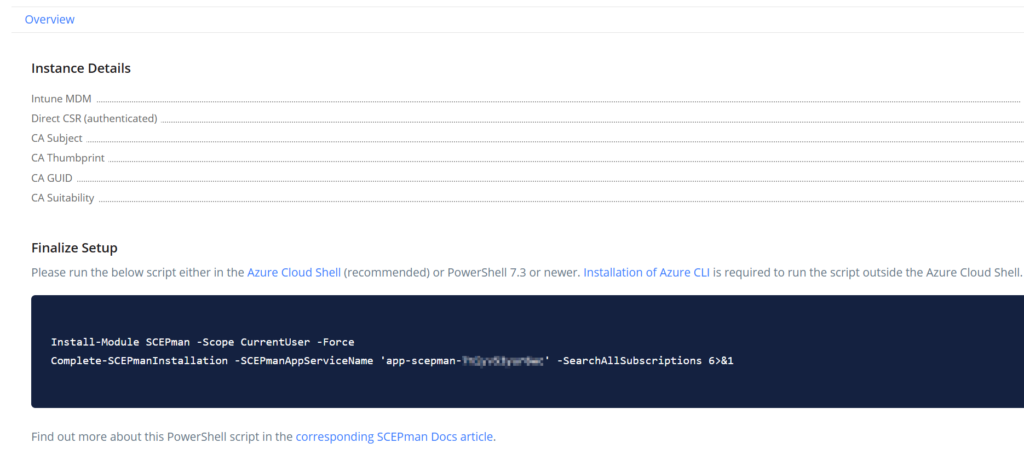
The next step is finalizing the setup though an Azure Cloud Shell. When you are in the overview page of the SCEPman portal you will see the following about how to finalize the setup.
Go to the Azure portal (https://portal.azure.com) and start an Azure Cloud Shell.

Copy the code from the SCEPman portal and paste it in the Azure Cloud Shell, now run the code.
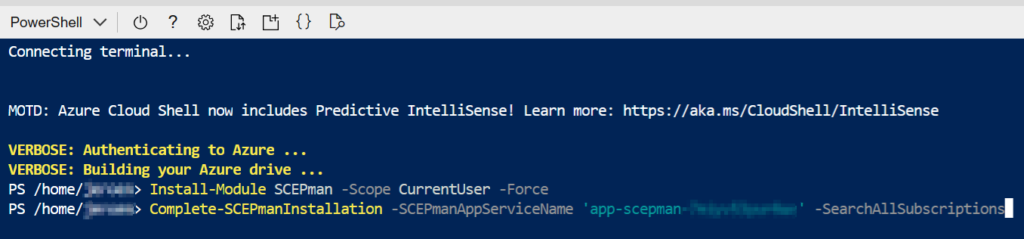
This will take a few minutes to complete, refresh the SCEPman portal when it completes.
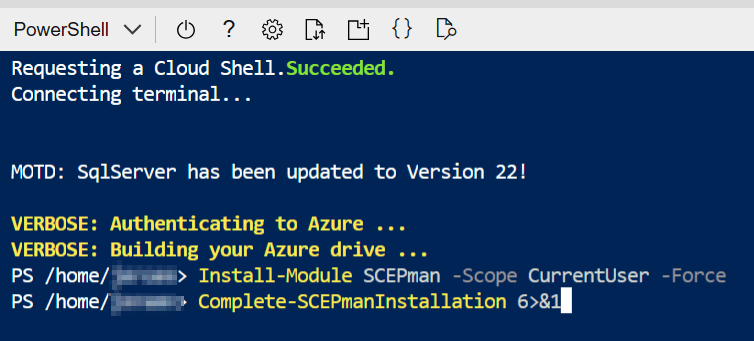
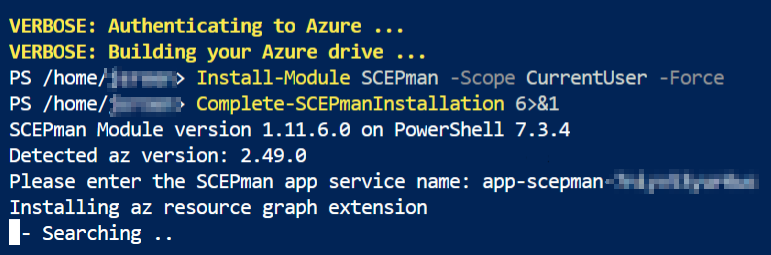
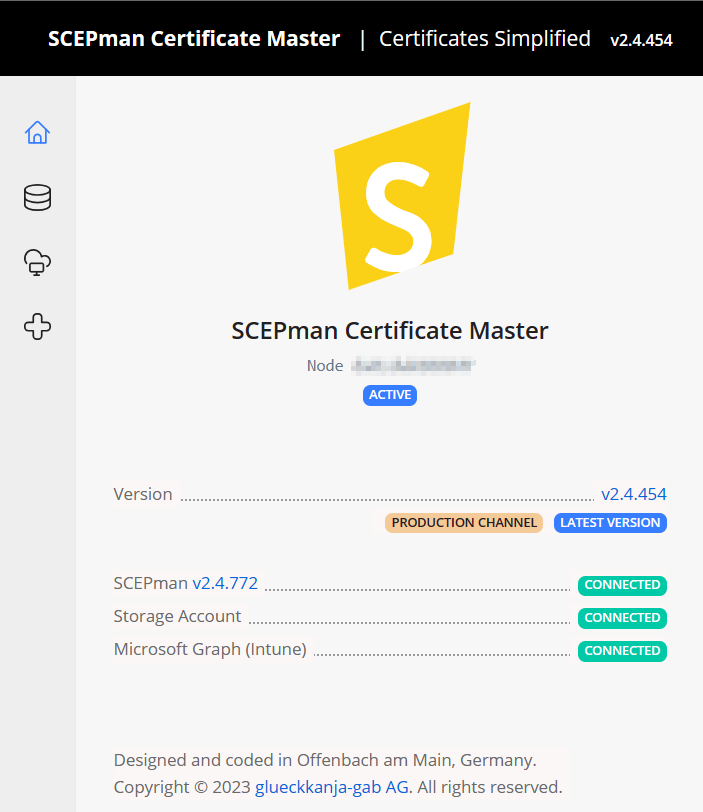
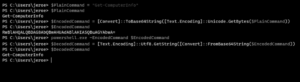
Now we are going to configure the SCEPman Certificate Master, open another cloud shell and now run the command:
Install-Module SCEPman -Scope CurrentUser -Force
Complete-SCEPmanInstallation 6>&1
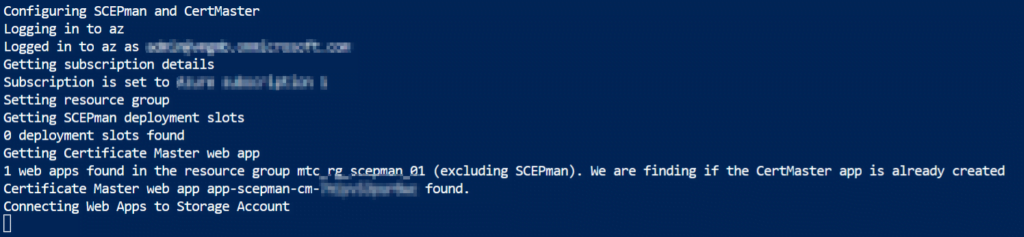
The SCEPman installation will now finalize the installation, the Azure Cloud Shell will look like below and this will take a few moments.
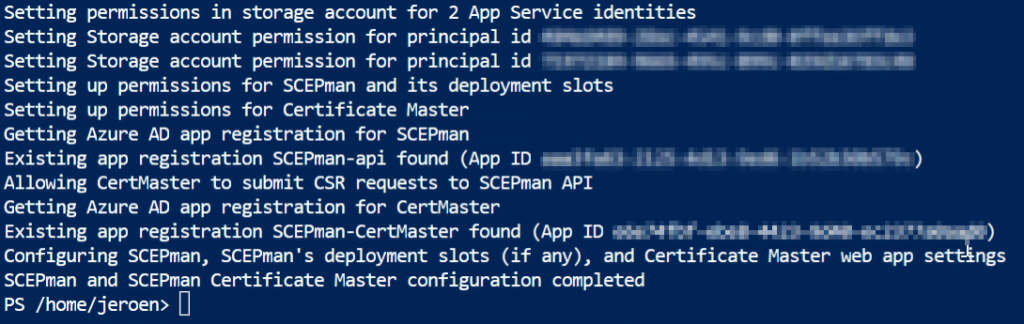
The SCEPman and SCEPman Certificate Master are now successfully completed!
We’re almost finished! Now let’s connect SCEPman to our Azure Active Directory and Microsoft Intune environment.
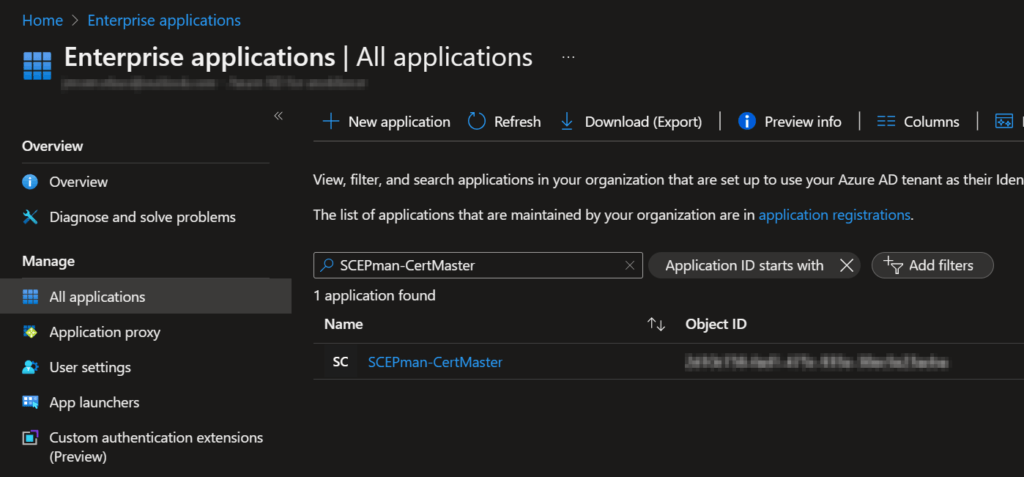
Go to the Azure Active Directory (https://aad.portal.azure.com) and go to “Enterprise applications“, Remove the filter for “Application type == Enterprise Applications” and search for SCEPman-CertMaster, now select the Enterprise Application.
Inside the Enterprise Application go to “Users and groups” and select the account that you would like to give administrative permissions on the Certificate Master.

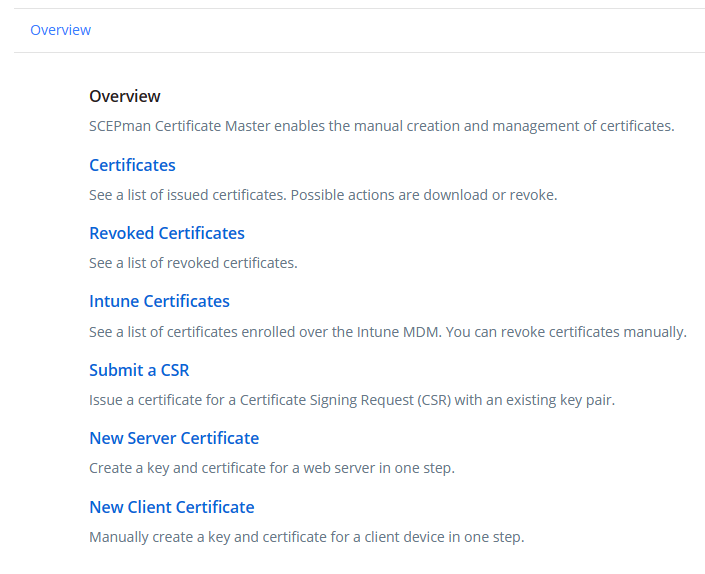
Go to the Certificate Master URL. You have to logoff and logon to make the permissions effective).
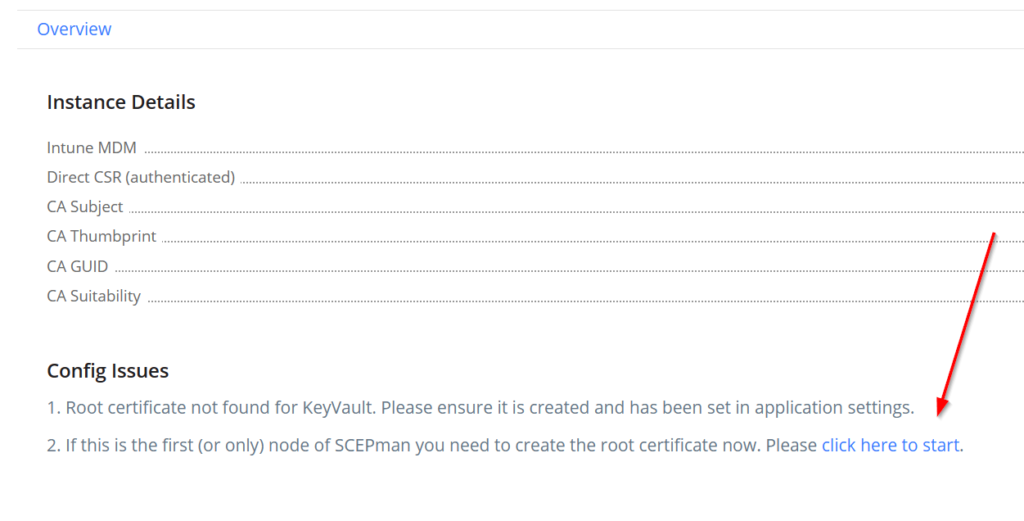
One of the last steps is creating the root certificate, click on “click here to start“.
Check the box and select “Create First Node“.

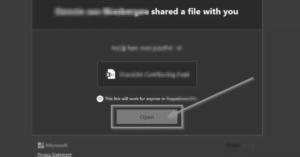
The browser will now prompt (depending on which browser you’re using) something like below:
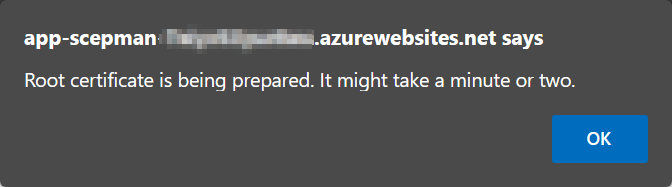
The keyvault is connected now! Everything is now connected and ready to be used!
Now that we’ve come to the end of part 1 you already can deploy certificates manual via the certificate master. In part 2 we are going to dive in the deployment of certificates to users and devices via Microsoft Intune.
Thanks for reading and please stay tuned for my next post about how to deploy certificates via Microsoft Intune!


2 thoughts on “Cloud native certificate enrollment via Microsoft Intune (Part 1/3) – SCEPman”